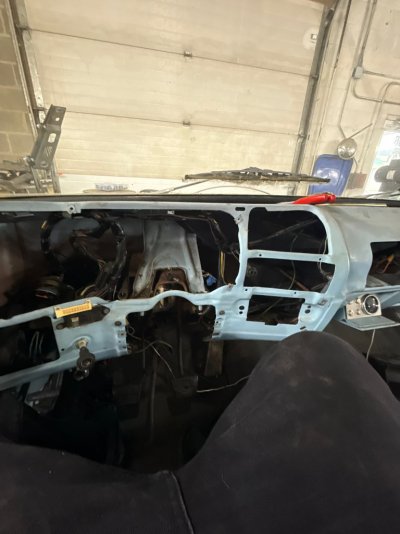
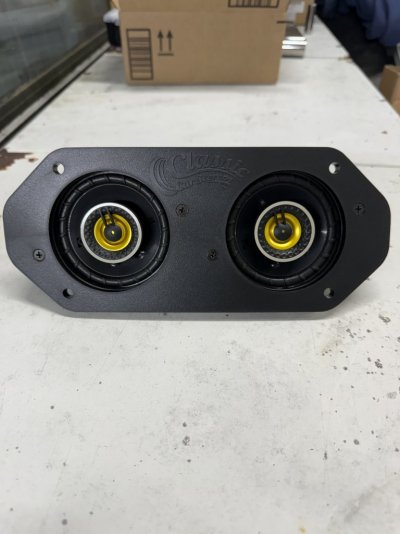
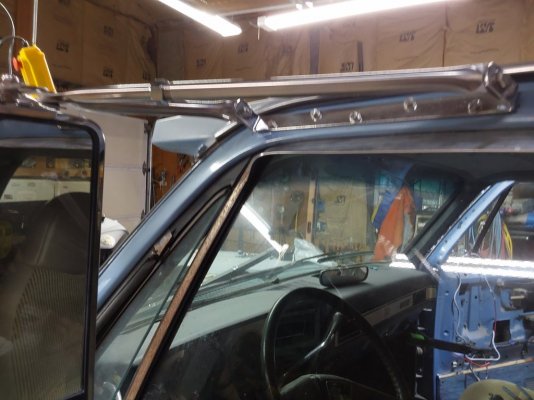
My AC delete cover came in today. Should look nice once installed but I’ll get the heater box mounted first as it has three studs that the cover slides over.
For those of you who have done this, I have a couple of questions:
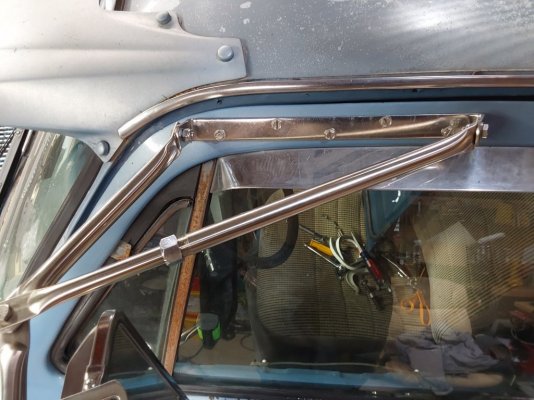
1) Are the little dimples for where to drill for the mounting holes accurate? How did you determine where to drill?
2) For mounting the fan, did you use the original screws and thread them into the fiberglass or use bolts and nuts to mount the fan before installing the cover?
You must be registered for see images attach
You must be registered for see images attach


") Good to see!
Good to see!