- Joined
- Aug 29, 2010
- Posts
- 47,814
- Reaction score
- 10,940
- Location
- OKC, OK
- First Name
- HotRod
- Truck Year
- 85 K20 LWB
- Truck Model
- Silverado
- Engine Size
- 454 - Turbo 400 - 3.73
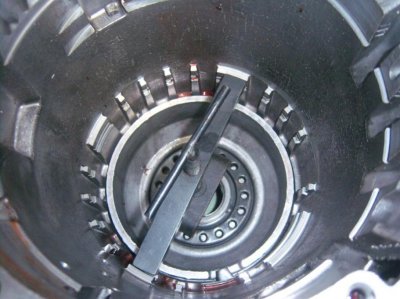
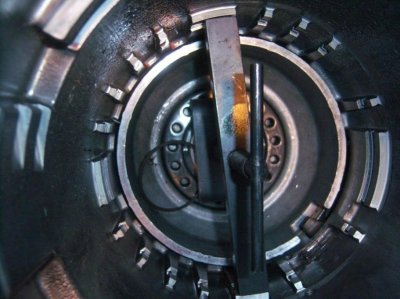
Have you ever tried using like a flat bar on the belhousing with the spinners on the outside of that?
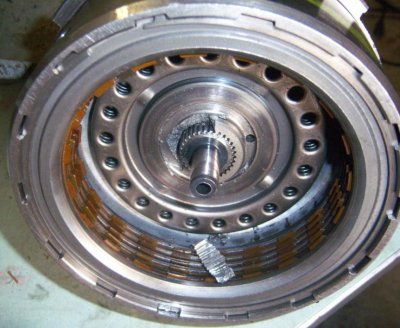
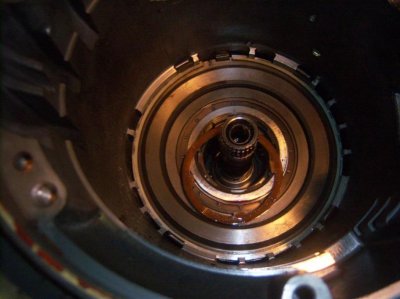
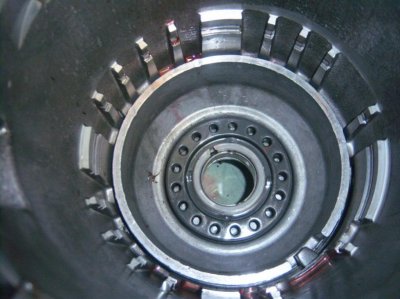
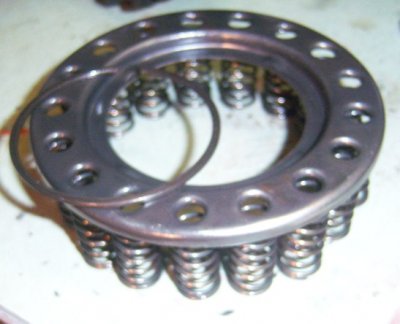
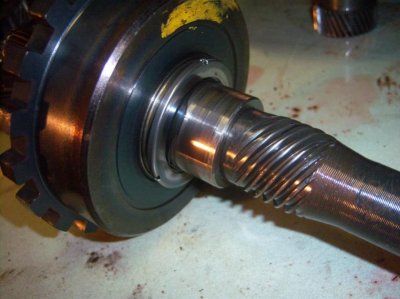
The clutch pack is cool, it looks exactly like a motorcycle clutch and also the same design is used by Caterpillar for the breaks on their haul trucks.
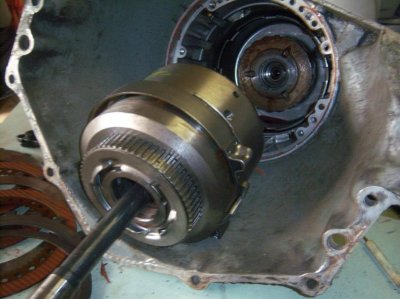
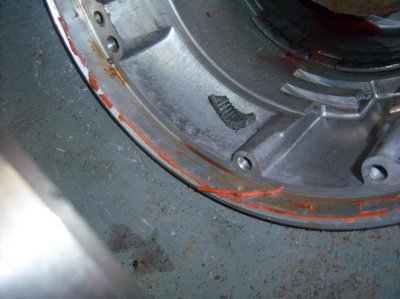
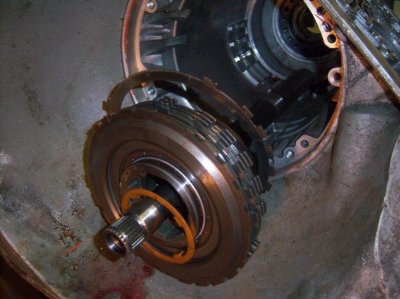
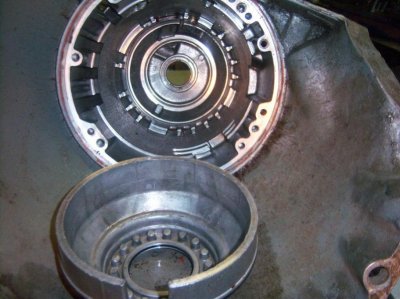
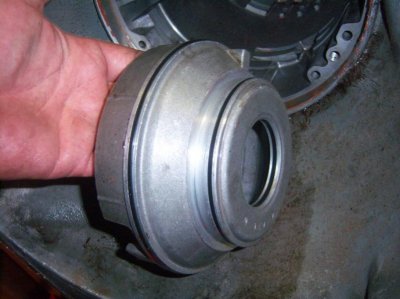
I don't think I understand the question. I have only done it the way I have pictured because it works well and has alwasy worked for me until this idiot used RTV to glue the damn pump in the case which is not needed. No reason to use RTV on a transmission at all, unless you want to use it on the pan gasket which I have never done either, but I have seen that done before after a trans service to hold the gasket in place while putting the pan back on.