
New For Me 1985 Silverado 20 6.2 Diesel
Disclaimer: Links on this page pointing to Amazon, eBay and other sites may include affiliate code. If you click them and make a purchase, we may earn a small commission.

Ricko1966

Full Access Member
Joined
Apr 11, 2017
Posts
10,167
Reaction score
19,654
Location
kansas
First Name
Rick
Truck Year
1975
Truck Model
c20
Engine Size
350
 

Craig Nedrow

NADAR UNDER THE RADAR
Supporting Member
Joined
Sep 1, 2018
Posts
1,674
Reaction score
4,203
Location
Washington State
First Name
Craig
Truck Year
1973 (have two), 1985
Truck Model
K10, K20, C20
Engine Size
350, 454, 6.2 Detroit
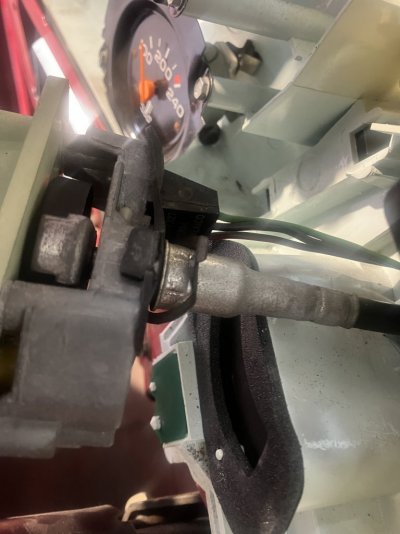
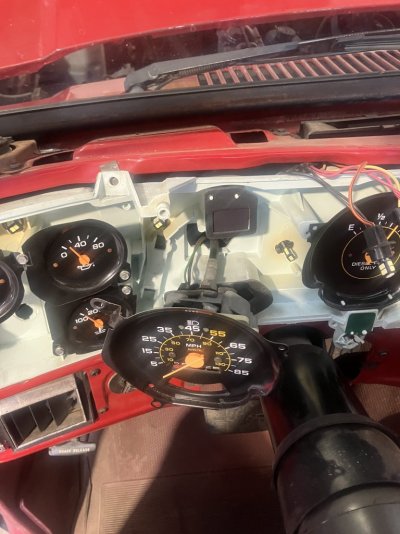
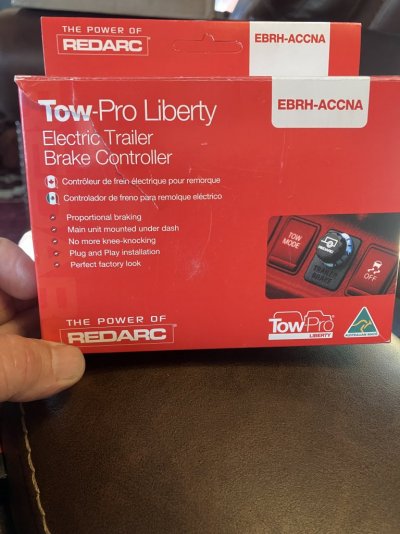
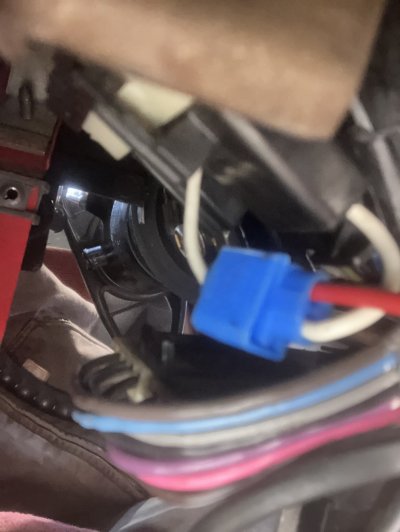
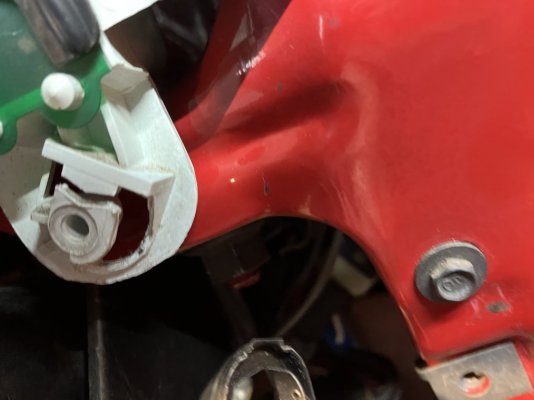
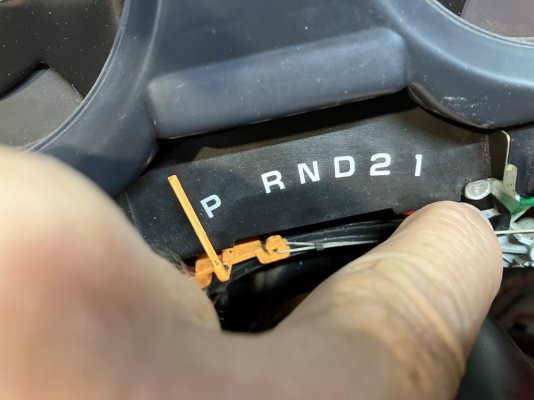
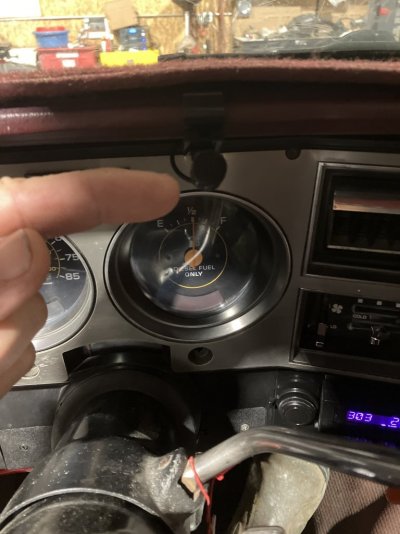
More done on the C20, Here is the RedArc brake controller install: First you need to remove the dash pad which I don't show as it is easy. Here is a tip that helped me a bunch, When you are removing the instruments, first remove the Bezel, then take the exposed screws out of the black plastic surround, then you can get to the instrument cluster. I remove the two screws for the gear selector, unhook the fishing line, and place the gear selector in a safe place to install later. Now it is hard to get the wiring harness and speedo cable out, from underneath, so with this truck, I was able to pull the cluster out far enough to remove the wiring harness, which has two clips that secure it to the cluster. On the later model trucks to remove the speedo, push the retainer in and the cable will release, thus freeing the cluster. Early model cables were screw on so unscrew it. Remove the wire clip above the speedo by taking out the one screw.
 

Attachments

  • IMG_4820~photo.JPG
    IMG_4820~photo.JPG
    101.2 KB · Views: 34
  • IMG_4821~photo.JPG
    IMG_4821~photo.JPG
    139.7 KB · Views: 35
  • IMG_4822~photo.JPG
    IMG_4822~photo.JPG
    80 KB · Views: 33
  • IMG_4823~photo.JPG
    IMG_4823~photo.JPG
    89.7 KB · Views: 34
Last edited:

Craig Nedrow

NADAR UNDER THE RADAR
Supporting Member
Joined
Sep 1, 2018
Posts
1,674
Reaction score
4,203
Location
Washington State
First Name
Craig
Truck Year
1973 (have two), 1985
Truck Model
K10, K20, C20
Engine Size
350, 454, 6.2 Detroit
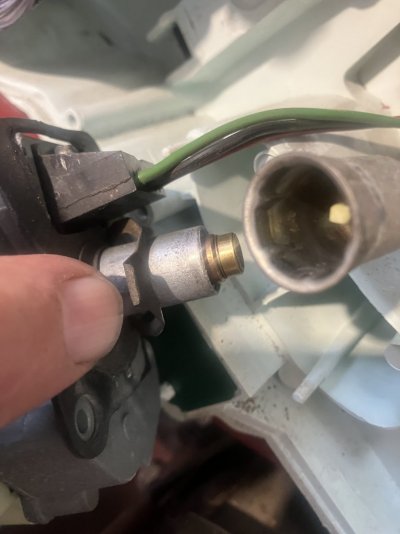
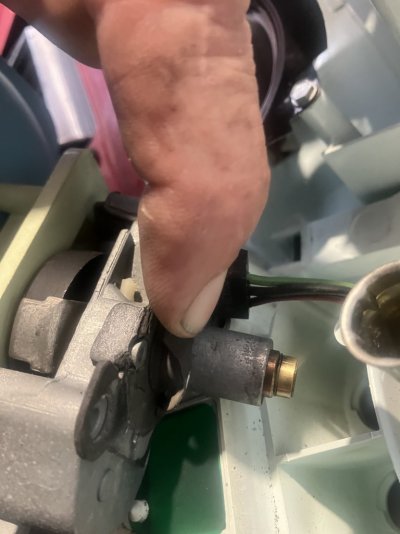
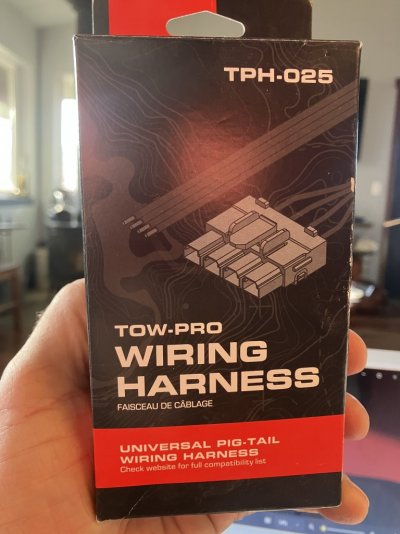
Remove the steering column lower surround, and steel panel below the column this gives you access to the brake switch. Here are the part numbers I used. The wiring harness was very helpful, but first 12V power is the first order of business.
 

Attachments

  • IMG_4871~photo.JPG
    IMG_4871~photo.JPG
    143.8 KB · Views: 28
  • IMG_4872~photo.JPG
    IMG_4872~photo.JPG
    119.2 KB · Views: 26
  • IMG_4873~photo.JPG
    IMG_4873~photo.JPG
    84.3 KB · Views: 26
  • IMG_4874~photo.JPG
    IMG_4874~photo.JPG
    120.8 KB · Views: 26

Craig Nedrow

NADAR UNDER THE RADAR
Supporting Member
Joined
Sep 1, 2018
Posts
1,674
Reaction score
4,203
Location
Washington State
First Name
Craig
Truck Year
1973 (have two), 1985
Truck Model
K10, K20, C20
Engine Size
350, 454, 6.2 Detroit
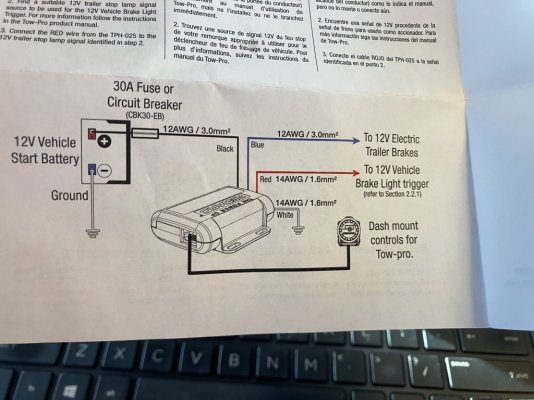
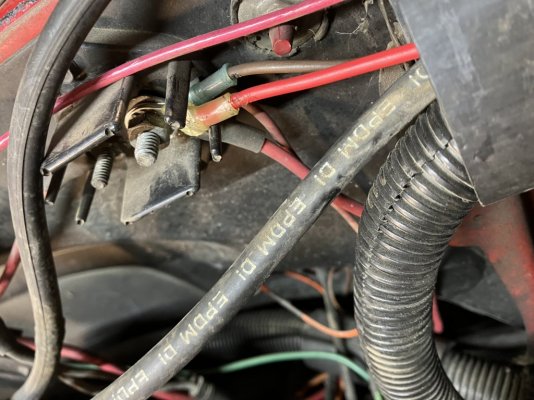
I wired the controller per this diagram, which is different then any controller I have done in the past. This is 12V constant hot, you will run one lead, (red wire) to the blue wire on controller. I slid a piece of heat shrink on then soldered, and heat shrunk the wire. You also need a 12V constant to the seven way plug for charging a battery on the trailer. This (brown) wire is run along the drivers side firewall to the frame, and eventually to the back of the truck, more later on this wire.
 

Attachments

  • IMG_4875~photo.JPG
    IMG_4875~photo.JPG
    130.6 KB · Views: 30
  • IMG_4836~photo.JPG
    IMG_4836~photo.JPG
    155.6 KB · Views: 31
Last edited:

Craig Nedrow

NADAR UNDER THE RADAR
Supporting Member
Joined
Sep 1, 2018
Posts
1,674
Reaction score
4,203
Location
Washington State
First Name
Craig
Truck Year
1973 (have two), 1985
Truck Model
K10, K20, C20
Engine Size
350, 454, 6.2 Detroit
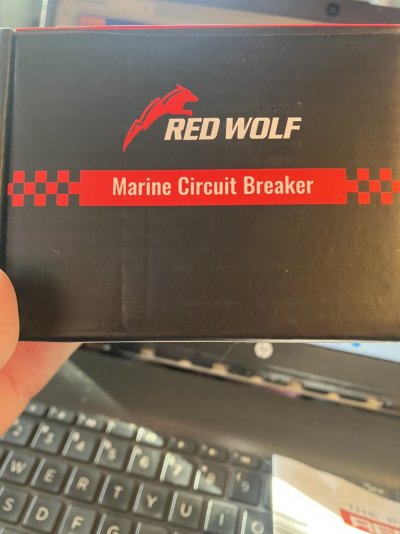
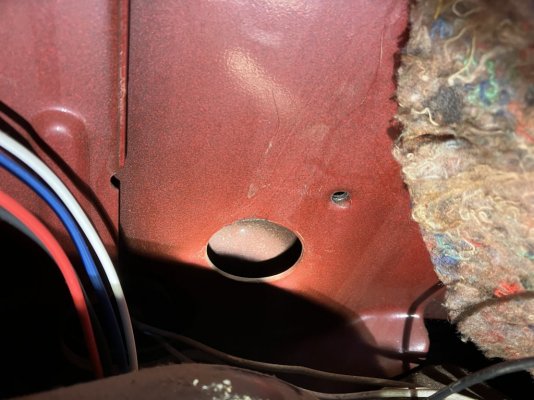
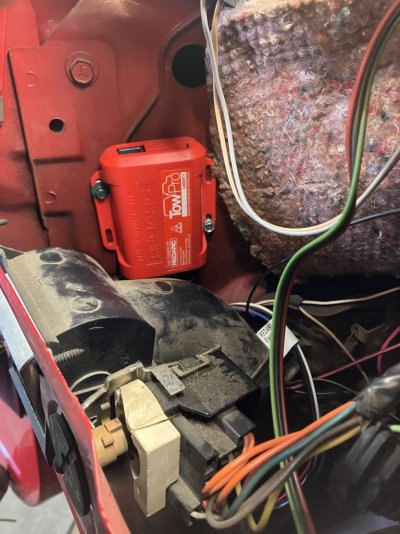
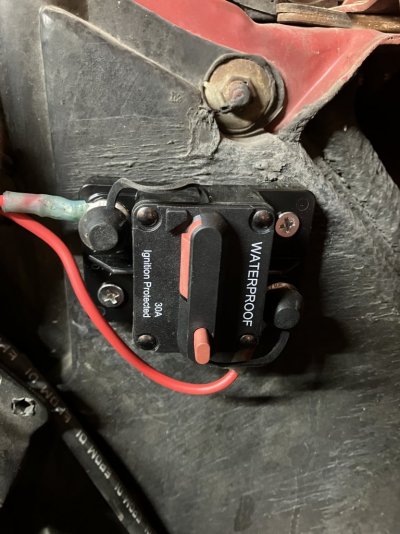
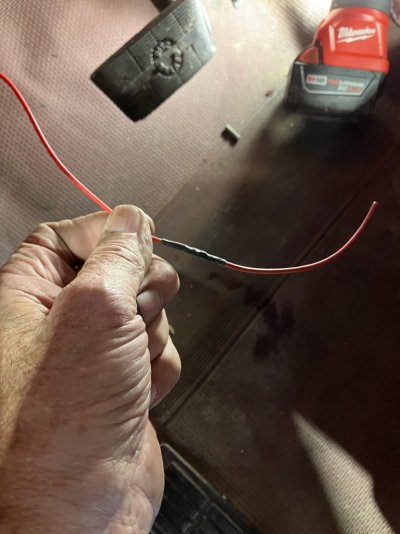
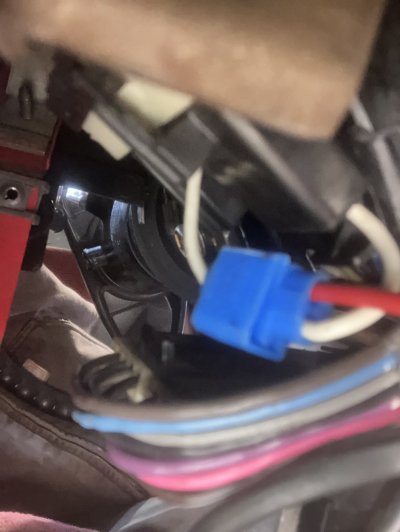
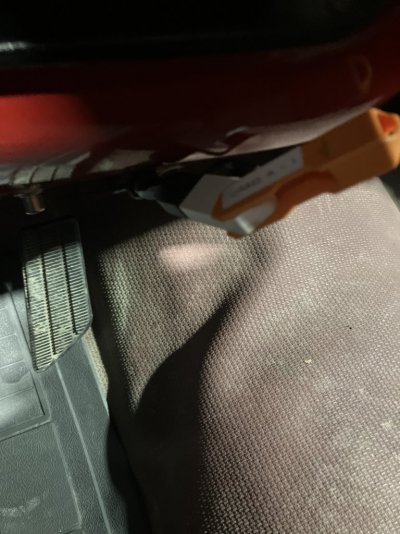
the red wire from the controller goes to the brake switch, (in my case a white wire) by the brake peddle. 5th pic is the splice in wire to the brake switch. I spliced the red to the white switch wire with a crimp connector. The white wire from the controller is ground, which on the 85 is under the dash left side above the emergency brake/hood release area. Mine had a six spade attachment terminal which made it easy, just crimp a 1/4 spade and attach the wire. I think in the future, I will put a power block for 12V under the dash, and power from that block as it will have fewer wires in the engine compartment. 1st pic is where I used one self tapping screw to attach the controller. I did drill a hole for the second bolt hole, used a 1/4 bolt under as a spacer. 3rd pic is the red wolf circuit breaker I wired in to 12V constant. the other end goes to the back. 4th pic is the splice in wire to the brake switch.
 

Attachments

  • IMG_4827~photo.JPG
    IMG_4827~photo.JPG
    144.1 KB · Views: 32
  • IMG_4828~photo.JPG
    IMG_4828~photo.JPG
    163.8 KB · Views: 28
  • IMG_4837~photo.JPG
    IMG_4837~photo.JPG
    143.2 KB · Views: 33
  • IMG_4830~photo.JPG
    IMG_4830~photo.JPG
    113 KB · Views: 29
  • IMG_4878.jpeg
    IMG_4878.jpeg
    98.4 KB · Views: 25
Last edited:

Craig Nedrow

NADAR UNDER THE RADAR
Supporting Member
Joined
Sep 1, 2018
Posts
1,674
Reaction score
4,203
Location
Washington State
First Name
Craig
Truck Year
1973 (have two), 1985
Truck Model
K10, K20, C20
Engine Size
350, 454, 6.2 Detroit
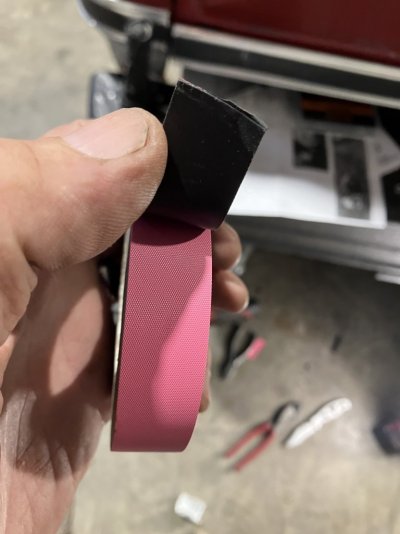
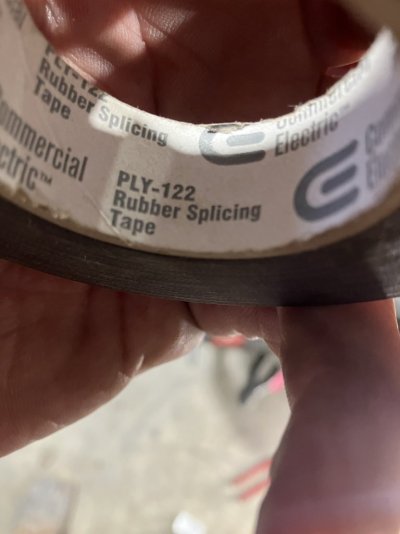
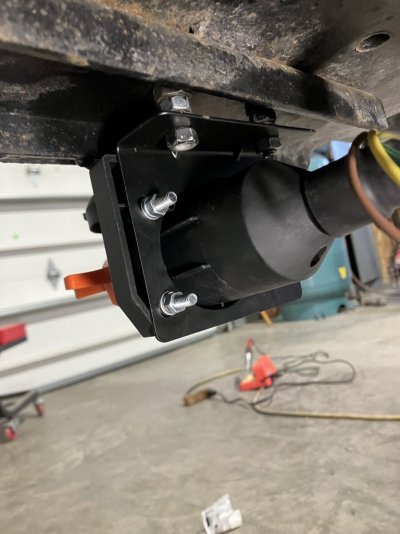
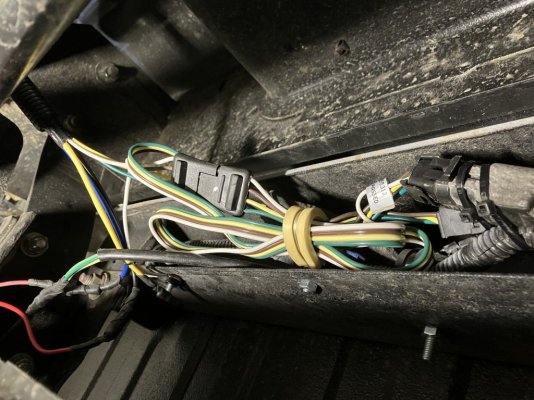
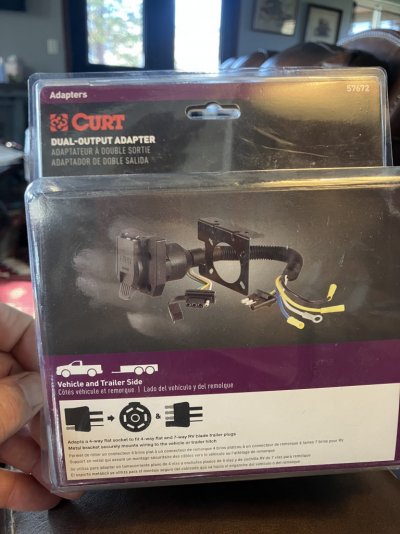
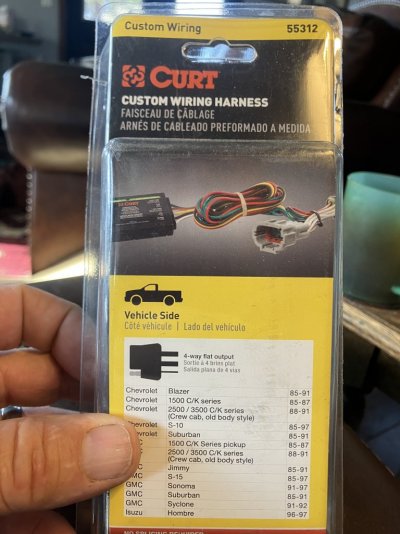
that completes the controller wiring, but not all the trailer wiring. I bought a Curt seven way plug, and also a wiring harness that plugged into an existing plug on the 85. Just unplug the harness, insert the curt harness, and plug one end into the original harness, and the other end into the Curt seven way. This gives you L&R brake and running lights the easy way. I used this rubberized waterproof tape to stop the chance of any water getting into any crimp, connectors. Same tape used in submersible pump wiring, excellent stuff.
 

Attachments

  • IMG_4831~photo.JPG
    IMG_4831~photo.JPG
    87.7 KB · Views: 28
  • IMG_4832~photo.JPG
    IMG_4832~photo.JPG
    72.1 KB · Views: 29
  • IMG_4833~photo.JPG
    IMG_4833~photo.JPG
    107.3 KB · Views: 29
  • IMG_4835~photo.JPG
    IMG_4835~photo.JPG
    176 KB · Views: 29

Craig Nedrow

NADAR UNDER THE RADAR
Supporting Member
Joined
Sep 1, 2018
Posts
1,674
Reaction score
4,203
Location
Washington State
First Name
Craig
Truck Year
1973 (have two), 1985
Truck Model
K10, K20, C20
Engine Size
350, 454, 6.2 Detroit
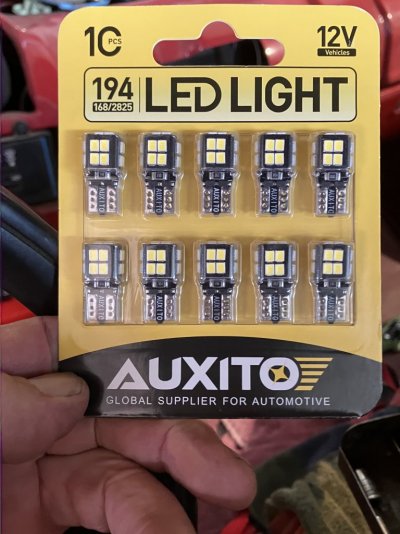
Here are the part numbers I used. The Curt still has four wires to connect. 12V power from the brown wire run earlier, goes to the black wire in the Curt. white ground wire, the yellow is back up, and I did not use that one. Make sure to have a clean metal surface for the ground, and attach the vehicle and curt ground. The blue Curt wire attaches to the blue redarc brake controller wire, tape up and cable tie all the wiring up and out of the way. that completes the wiring phase, now back to the cab. While I had the cluster I replaced all the bulbs with these led.
 

Attachments

  • IMG_4876~photo.JPG
    IMG_4876~photo.JPG
    137.9 KB · Views: 32
  • IMG_4877~photo.JPG
    IMG_4877~photo.JPG
    142.5 KB · Views: 26
  • IMG_4825.jpeg
    IMG_4825.jpeg
    139.5 KB · Views: 29

Craig Nedrow

NADAR UNDER THE RADAR
Supporting Member
Joined
Sep 1, 2018
Posts
1,674
Reaction score
4,203
Location
Washington State
First Name
Craig
Truck Year
1973 (have two), 1985
Truck Model
K10, K20, C20
Engine Size
350, 454, 6.2 Detroit
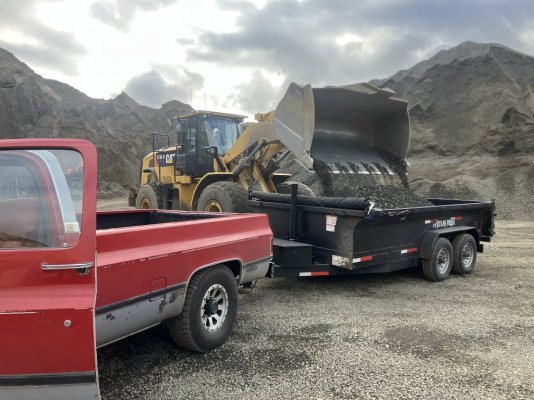
All my photos were on a thumb drive that got destroyed, and I deleted them off my phone, phony. Anyway last step is to plug in the connector into the red arc that adjusts brake, install the dash and you’re done. I put her to work, 10000 lbs of gravel, 4000 lbs trailer, and the ol’ girl did it. However, think I will buy some air bags, and put them on to help keep the truck level, but later.
 

Attachments

  • IMG_4878.jpeg
    IMG_4878.jpeg
    98.4 KB · Views: 37
  • IMG_4884.jpeg
    IMG_4884.jpeg
    70.8 KB · Views: 37
  • IMG_4882.jpeg
    IMG_4882.jpeg
    89.3 KB · Views: 35
  • IMG_4845.jpeg
    IMG_4845.jpeg
    183.8 KB · Views: 34

Craig Nedrow

NADAR UNDER THE RADAR
Supporting Member
Joined
Sep 1, 2018
Posts
1,674
Reaction score
4,203
Location
Washington State
First Name
Craig
Truck Year
1973 (have two), 1985
Truck Model
K10, K20, C20
Engine Size
350, 454, 6.2 Detroit
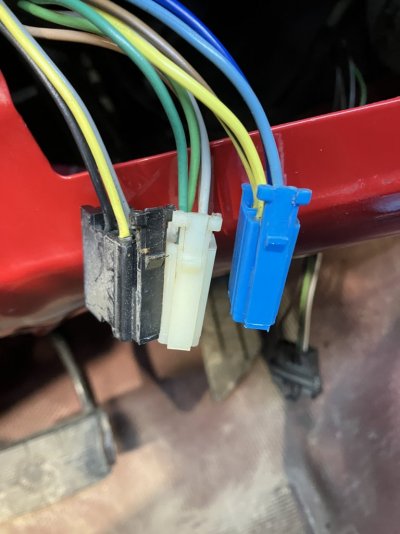
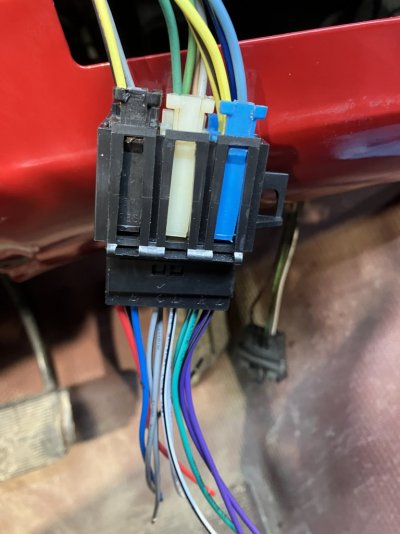
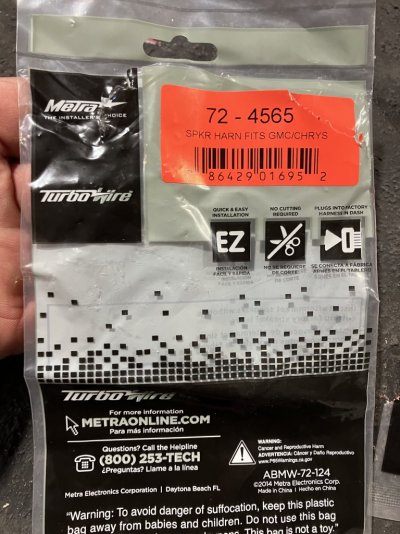
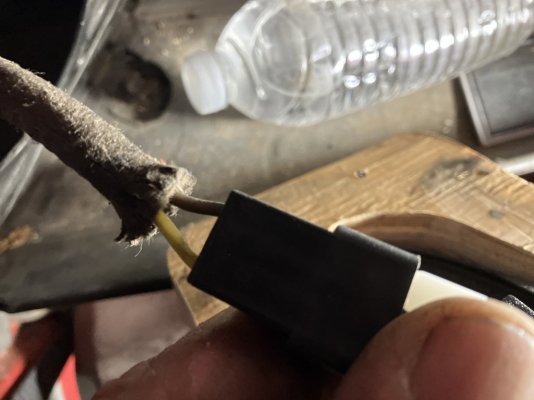
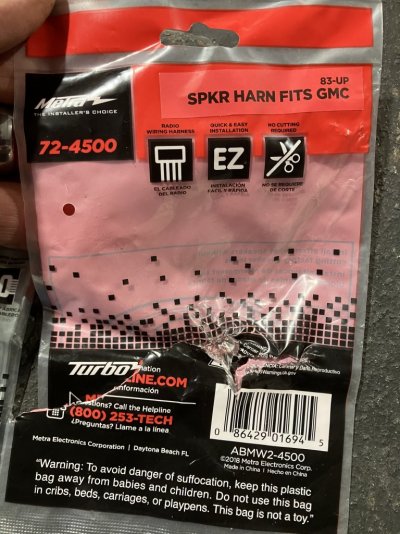
Last couple of days I have been working on my stereo system. Here’s some pictures. I bought these connecters from Crutchfield. They plug right into the wires that came out of the original stereo keeps you from having to cut them and you can put it back to original later if you want. Here is the part number
 

Attachments

  • IMG_4887.jpeg
    IMG_4887.jpeg
    98.5 KB · Views: 28
  • IMG_4888.jpeg
    IMG_4888.jpeg
    102 KB · Views: 26
  • IMG_4900.jpeg
    IMG_4900.jpeg
    169.3 KB · Views: 28

Craig Nedrow

NADAR UNDER THE RADAR
Supporting Member
Joined
Sep 1, 2018
Posts
1,674
Reaction score
4,203
Location
Washington State
First Name
Craig
Truck Year
1973 (have two), 1985
Truck Model
K10, K20, C20
Engine Size
350, 454, 6.2 Detroit
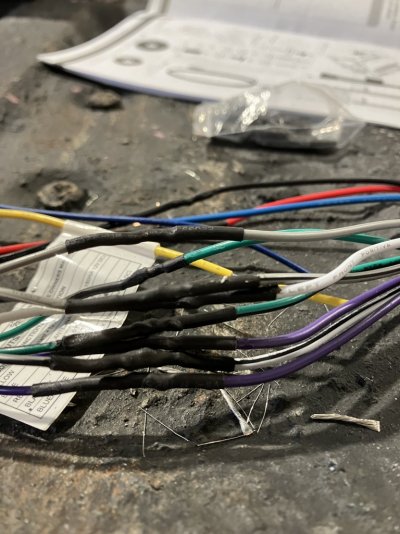
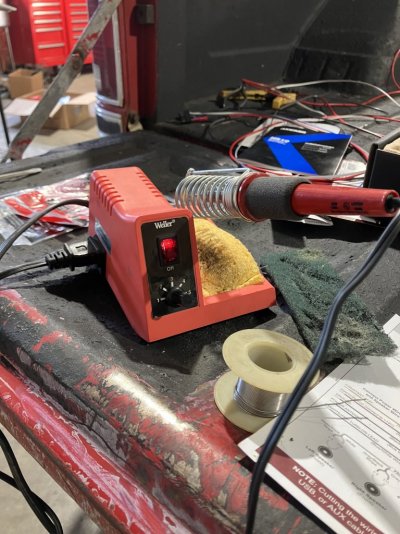
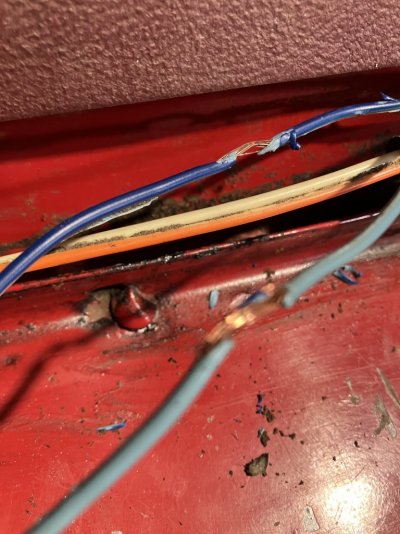
There’s still a lot of soldering to do. I just sit up on the back of my tailgate. Sit down in the chair with my soldering gun and shrink tube and did all those wires left right front back, etc..
 

Attachments

  • IMG_4890.jpeg
    IMG_4890.jpeg
    148.5 KB · Views: 26
  • IMG_4891.jpeg
    IMG_4891.jpeg
    177.1 KB · Views: 30

Craig Nedrow

NADAR UNDER THE RADAR
Supporting Member
Joined
Sep 1, 2018
Posts
1,674
Reaction score
4,203
Location
Washington State
First Name
Craig
Truck Year
1973 (have two), 1985
Truck Model
K10, K20, C20
Engine Size
350, 454, 6.2 Detroit
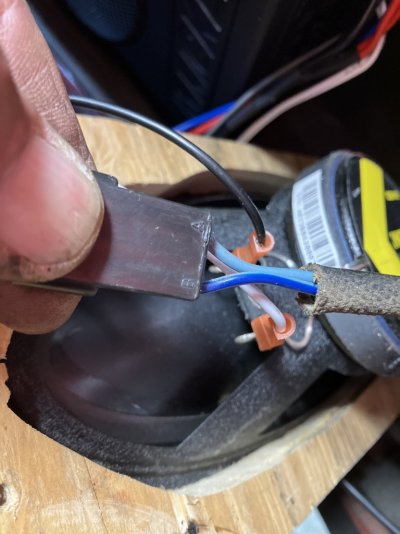
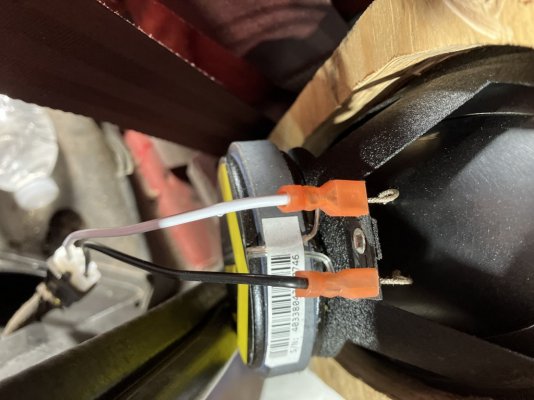
Driver side speaker I picked up the wires on the side of the seat in that channel, soldered,taped up, did it on both sides that takes care of the 4 x 10 speakers in back. Do yourself a favor and buy these connectors that plug directly into the back speakers and then just snap into the wires on your original harness.
 

Attachments

  • IMG_4895.jpeg
    IMG_4895.jpeg
    108.1 KB · Views: 27
  • IMG_4896.jpeg
    IMG_4896.jpeg
    149.1 KB · Views: 32
  • IMG_4897.jpeg
    IMG_4897.jpeg
    117.5 KB · Views: 27
  • IMG_4898.jpeg
    IMG_4898.jpeg
    88 KB · Views: 33
  • IMG_4899.jpeg
    IMG_4899.jpeg
    182.9 KB · Views: 23

Craig Nedrow

NADAR UNDER THE RADAR
Supporting Member
Joined
Sep 1, 2018
Posts
1,674
Reaction score
4,203
Location
Washington State
First Name
Craig
Truck Year
1973 (have two), 1985
Truck Model
K10, K20, C20
Engine Size
350, 454, 6.2 Detroit
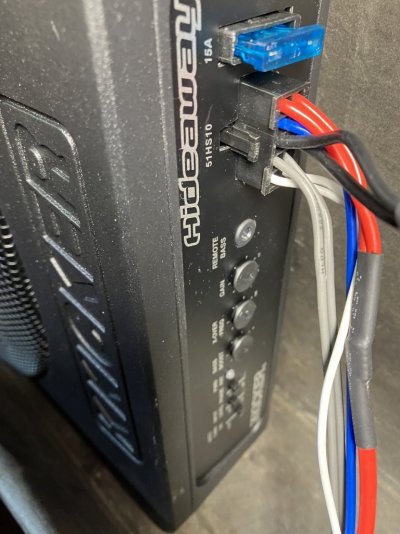
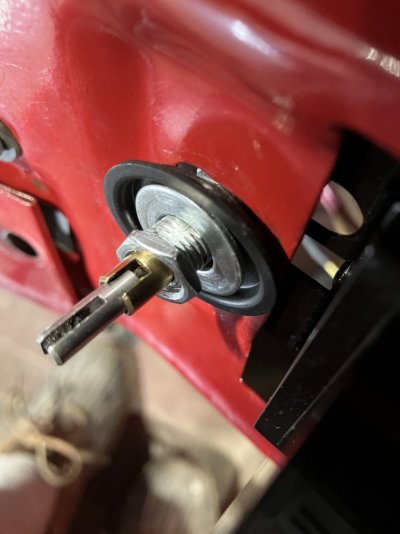
The sub requires a right and left signal to work that’s why I had to splice those wires they go to the sub everything else pretty much plugs in you have to run a red wire back to the sub that’s a power wire. I took that off of my circuit breaker Inside the engine compartment. You also have a ground wire that pretty much complete the sub install. It took quite a few tries to get the knobs perfectly centered with my original dash so everything worked and the knob spring back like it was supposed to. I must’ve took it out about 15 times. I got really good at it, but I’m fussy that way, I wanted it perfect and I wanted to work right And it does. Sounds ….awesome. Need to dynamite the back, but also later. Today is pie and turkey prep for the smoker for tomorrow the big gathering at the ol’ farm. I am grateful,
 

Attachments

  • IMG_4902.jpeg
    IMG_4902.jpeg
    84.4 KB · Views: 30
  • IMG_4892.jpeg
    IMG_4892.jpeg
    133.8 KB · Views: 44
  • IMG_4906.jpeg
    IMG_4906.jpeg
    165.6 KB · Views: 25
Last edited:

Craig Nedrow

NADAR UNDER THE RADAR
Supporting Member
Joined
Sep 1, 2018
Posts
1,674
Reaction score
4,203
Location
Washington State
First Name
Craig
Truck Year
1973 (have two), 1985
Truck Model
K10, K20, C20
Engine Size
350, 454, 6.2 Detroit
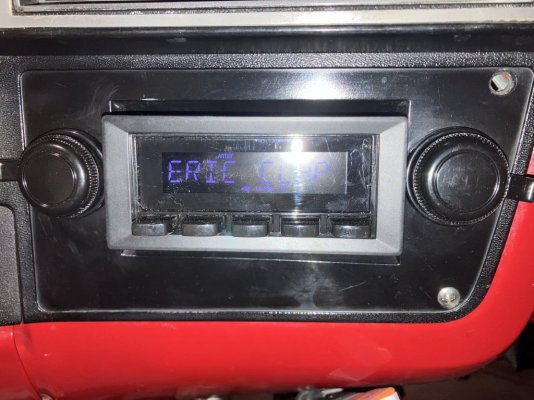
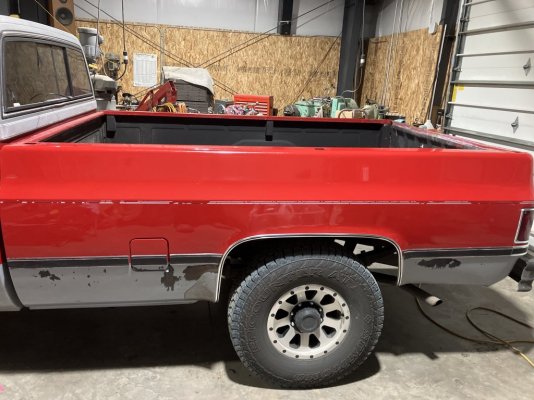
I forgot to post, but this also has Bluetooth with the speaker so I can make phone calls easy. This also has a USB. Cleaner polish then wax on the bed as good as it’s gonna get. The radio is a retro sound. I think it’s a Santa Cruz model..
 

Attachments

  • image.jpg
    image.jpg
    155.1 KB · Views: 37
  • image.jpg
    image.jpg
    112.4 KB · Views: 34
  • image.jpg
    image.jpg
    153.9 KB · Views: 34

Latest posts

Forum statistics

Threads
48,666
Posts
1,074,154
Members
43,333
Latest member
duncan_schawalder
Top