

Raider L
Full Access Member
- Joined
- Sep 1, 2020
- Posts
- 1,892
- Reaction score
- 1,006
- Location
- Shreveport, LA
- First Name
- William
- Truck Year
- 1974
- Truck Model
- C10
- Engine Size
- 355
I just grabbed the thing (gear indicator) and went on out there and put the thing in. I got tired of worrying about how hard it was going to be since I couldn't get the inst. panel out as far as it needed to be. But I managed to get the panel out pretty far since I don't have my fuel pressure gauge in yet which would have a braided hose attached to it further restricting how far I could pull the panel out. I got the left screw in easy but I knew the right screw was going to take awhile. It wasn't as bad as I thought since I was able to pull the panel out far enough without having to drop the steering column down by taking out those two big bolts holding it up against the column support under the dash.
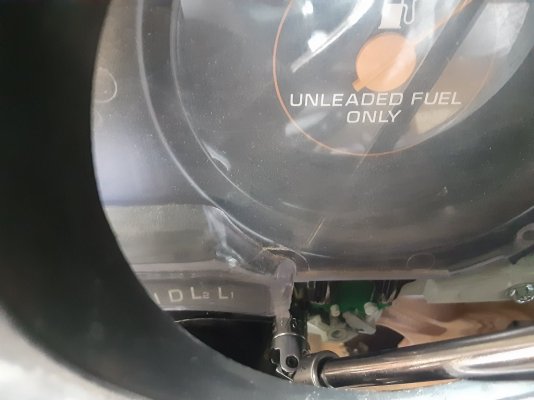
But here's the pic I took of the part about getting the little cable through the part for it, a guide of some sort made on the lower corner right there of the White plastic box behind the inst. panel, so the cable has a smooth downward pull on it for the needle to line up correctly with the trans. gear.
But here's the pic I took of the part about getting the little cable through the part for it, a guide of some sort made on the lower corner right there of the White plastic box behind the inst. panel, so the cable has a smooth downward pull on it for the needle to line up correctly with the trans. gear.

")