Just a little update. Been busy with the newborn so the rebuild has gone to a crawl as far as progress...
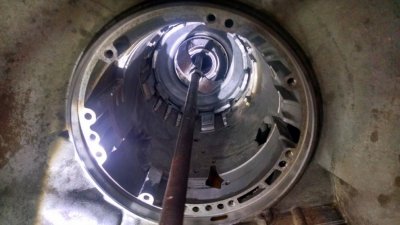
To catch everyone up though, I've got it put back together up to the point where I need to air check the drums/pump assembly. Actually, I tried to check the forward clutch today at lunch and had it hissing at me...

I had to head back to work so I didn't have time to look into it more.
I really don't want to tear apart the drums again and already gave back the compression tool but know I could just borrow it again or use clamps if I need to. I'm internally dual feeding it, so would not having that seal on the drum cause it to leak air and negate this test? I didn't sound like a little leak; sounded quite "hollow", or like a big leak, if that makes sense. Also, I put trans jel on the pump sealing rings, obviously, but not sure if it was enough... Any other thoughts on it before I go tearing it apart again?
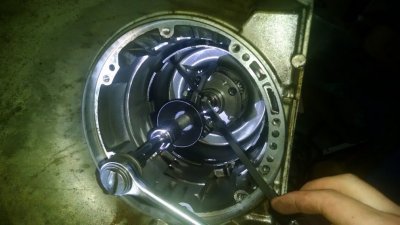
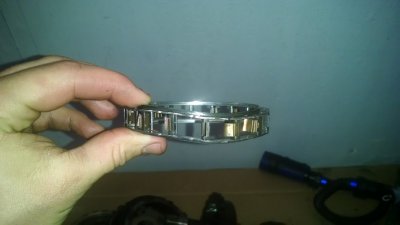
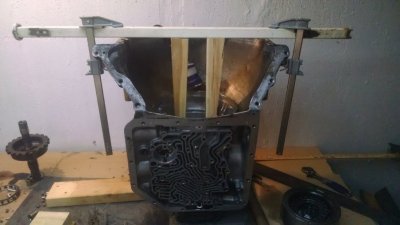
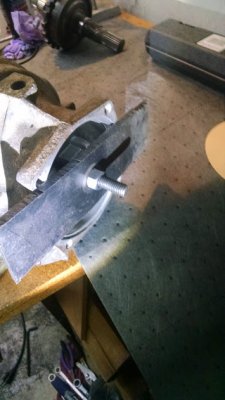
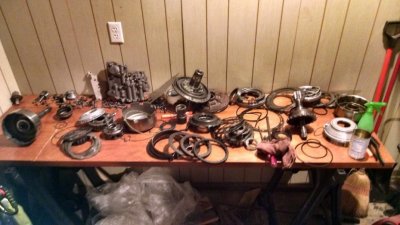
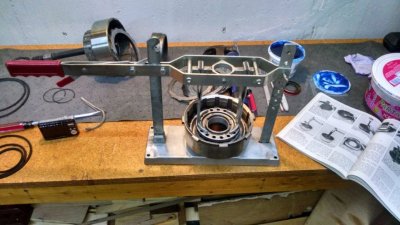
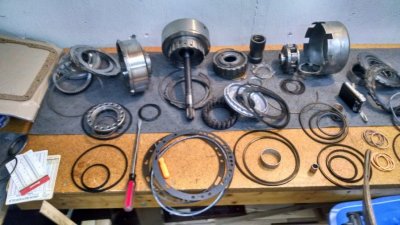
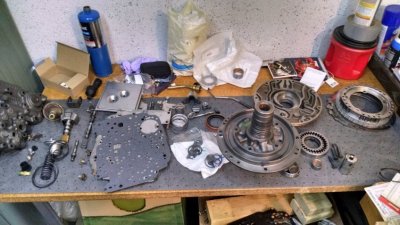
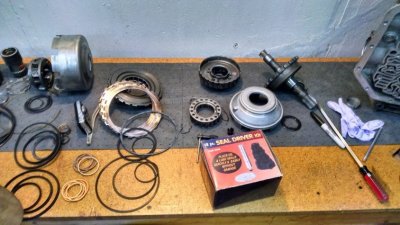
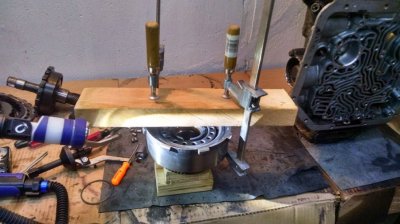
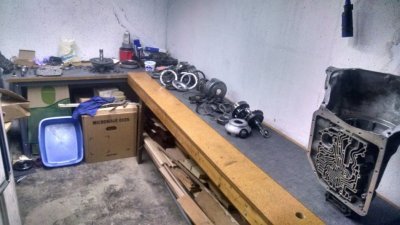
Everyone loves pics so here are a few of the process (not in order) and some of the different "tools" I've used. The one different picture was taken in my garage as I didn't want to stink up the house while cleaning everything so I moved all the parts out there to clean. Then brought everything back down into the basement.