@
Eighty5C10 Thanks.
@
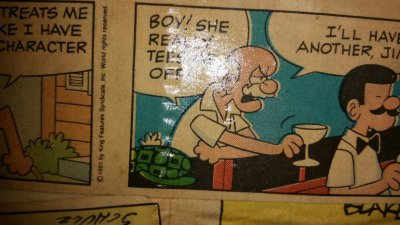
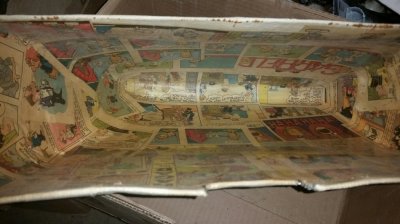
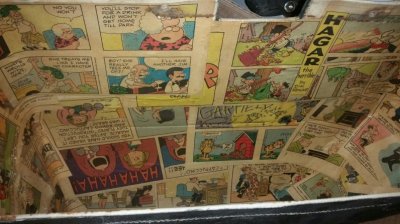
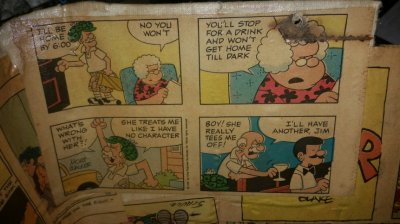
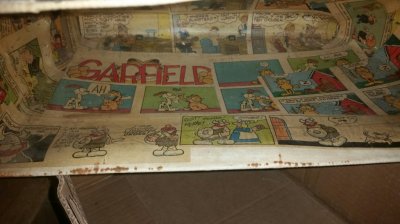
Qwk The only date I could find on the comics was 1991. That tells me that either the original owner did it, or the second owner (the one I bought it from) did it with some old comics he had laying around. I forget how long the 2nd owner was eyeing it. He said he kept seeing it parked out front the guy's house. After a while he approached him about buying it. Then it got moved to the back. When he passed away, the son approached him and offered him the chance to buy it because he knew he wanted it. I bought it in 2015, the 2nd owner said he'd had it for 11 years, so anytime between 1991 and 2015 it was done.
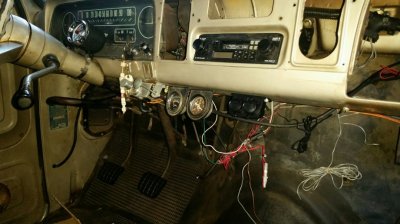
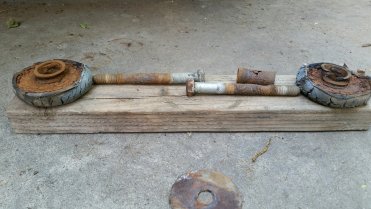
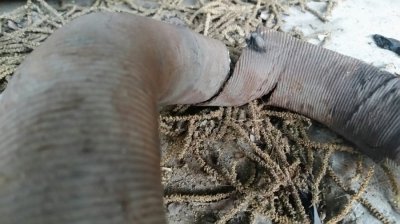
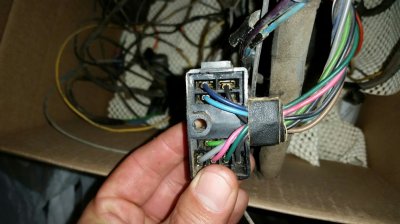
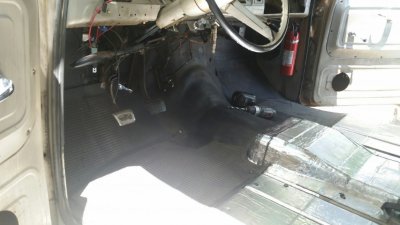
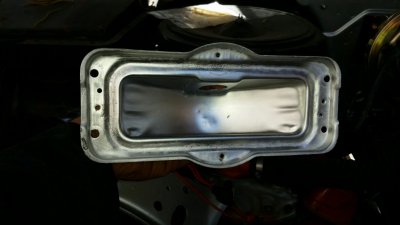
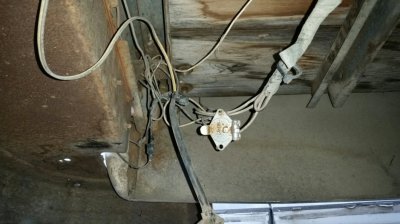
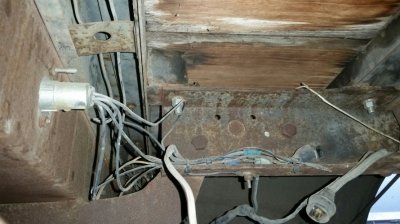
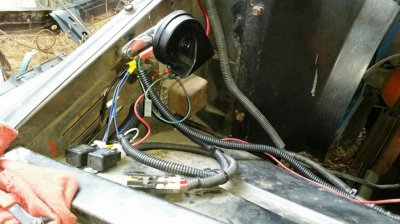
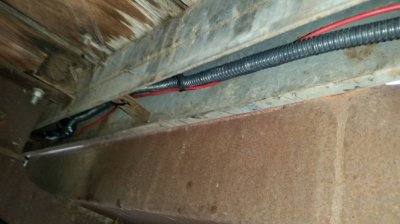
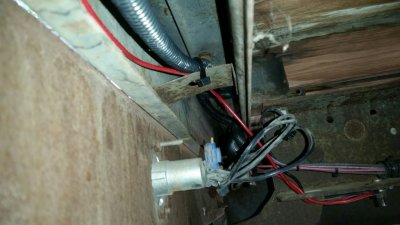
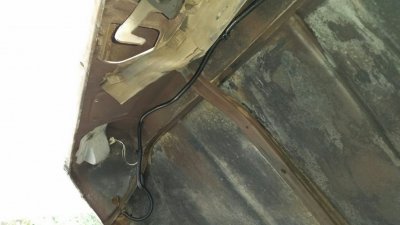
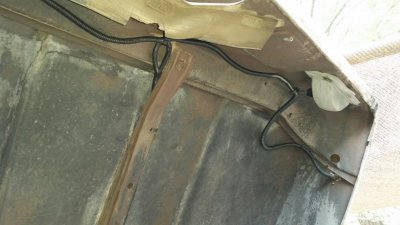
Last night I tackled more wiring and under dash stuff. Someone had added an old school type flasher unit and push-switch so when the e-brake handle is pulled out, the switch is activated and a red light flashes indicating the e-brake is applied. It's not something that is really needed, but it was there so I kept it. When I was getting the speedometer cable hooked up on Monday, I somehow broke one of the leads to that flasher unit. At that point I didn't know what it was, just that the wire was broke. So I had the parts store bring me a two-pin flasher and I wired that in last night. I ran out of blue male connectors so I couldn't wire up the volt meter. When I redid the under dash bulkhead, I decided to change how the wiring was for the ammeter. I read that a higher amp one-wire alternator will fry those old ammeters, and also that it would be just fine, or that I can sent it in to be recalibrated/re-shunted for the one-wire alternator. To make things easier, I ran switched power to the power side of the ammeter plug through the bulkhead, and the ground coming out the other part of the bulkhead. Now to run the wires from the the ammeter plug to the voltmeter. The ammeter will just sit there in the dash, but not be operational. I didn't want to cut any of the instrument cluster wiring, which is why I opted to wire the volt meter this way. So I can gauge how my engine is doing and help with better mileage down the road I installed a vacuum gauge. I had one in my '56 Sedan in high school, and I recall if I kept it as close to 20 as possible, I got great mileage. Next to the vacuum gauge you'll see I also installed a dual-socket power source. Wanted a single-socket unit, but that only the dual. It's rated at 15A maximum, so I wired in a blade fuse holder and it is secured under the stereo. The power to the ports is ran from the horn relay since it recieves power from the battery, and then it's grounded at a common grounding point for the other grounds under the dash. Got the stereo back in. I searched for an old school tape deck but they are not available anymore. I could buy a used one from ebay but those are mostly in as-is condition which means they probably don't work. Saw a refurbished Kenwood and fell asleep before I could bid on it. Considered a Retro-Sound unit, but for a $200 radio? No thanks, the radio worked in this existing unit, so I got new speakers instead. Still need to install those. This afternoon will be finish up the wiring and get those low hanging wires tucked up out of sight, replace the lower radiator hose since I accidentally cut it too short. And if time allows, install the exhaust sytem. Then to find someone to help with the seat. Always seem to find flakes for that...yeah I can help, sorry I can't help...or they just don't show up.


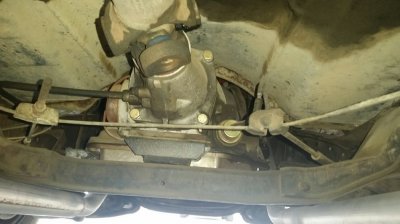
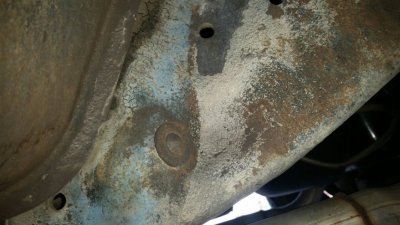


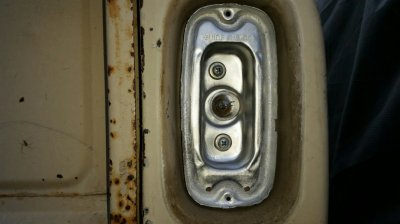
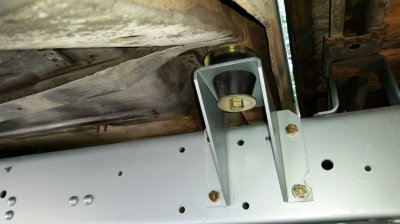
") . And the body lines. The rear of the cab was being supported by blocks of wood there, but it is only about 1/4 to 1/2 inch higher than the new mounts. No more saggy cab.
. And the body lines. The rear of the cab was being supported by blocks of wood there, but it is only about 1/4 to 1/2 inch higher than the new mounts. No more saggy cab.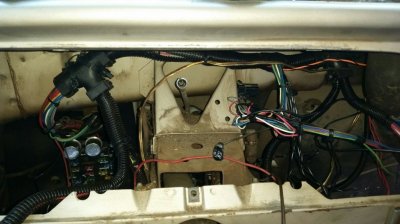
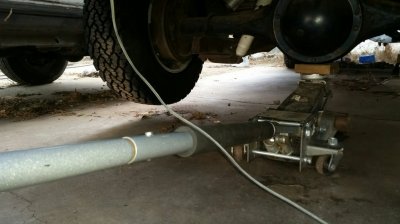
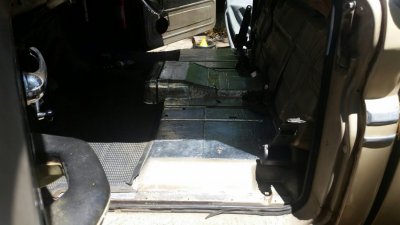
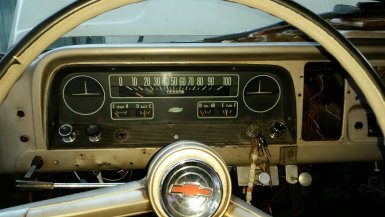
 ...no pic of that, was time to clean up and eat dinner. It was late. Then got the instrument cluster installed, looking like an operational truck again. Took off yesterday and finished up the cab mounts and painted the frame to just behind the mounts.
  Since I won't have time to get the truck in for the exhaust fix, I will be running the old system for a week or two.
![20160614_164455[1].jpg](/data/attachments/27/27897-37ac50aef2b49fadafe01c275dd708b6.jpg)
![20160614_164507[1].jpg](/data/attachments/27/27898-6df2f6f9cc25f72771206455cfc33c9c.jpg)
![20160614_164519[1].jpg](/data/attachments/27/27899-62ad5c94a0f82fde00f56efef20f6703.jpg)
![20160614_195902[1].jpg](/data/attachments/27/27900-a838b942760ccd76803ec8c9233fa7e6.jpg)
![20160614_195952[1].jpg](/data/attachments/27/27901-d9ab0433f147b4cf2255b5a4a5a1ca44.jpg)