K10eddie
Member
- Joined
- May 27, 2018
- Posts
- 35
- Reaction score
- 10
- Location
- Connecticut
- First Name
- Ed
- Truck Year
- 1979
- Truck Model
- K10
- Engine Size
- 383
Hey folks,
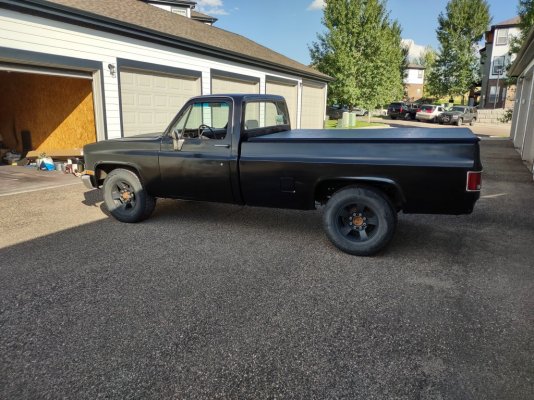
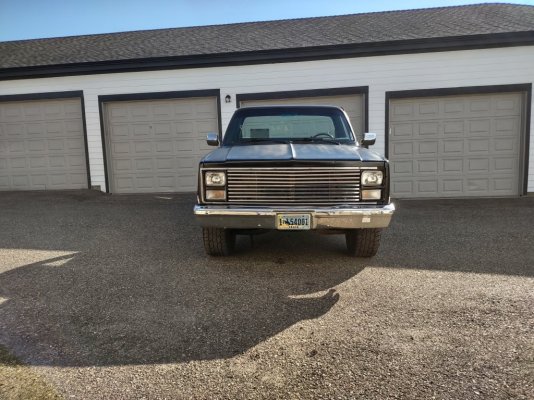
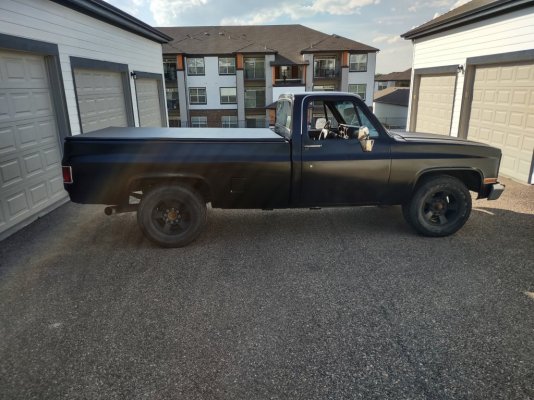
So tomorrow I'm getting ready to paint my truck, but instead of the classic hot rod primer, I feel like I should go the distance and make a gloss black paint job look decent. I'm under no delusions that this Rust-Oleum job will be a show winner, I just want to put a little effort in to make it look decent for a daily driver.
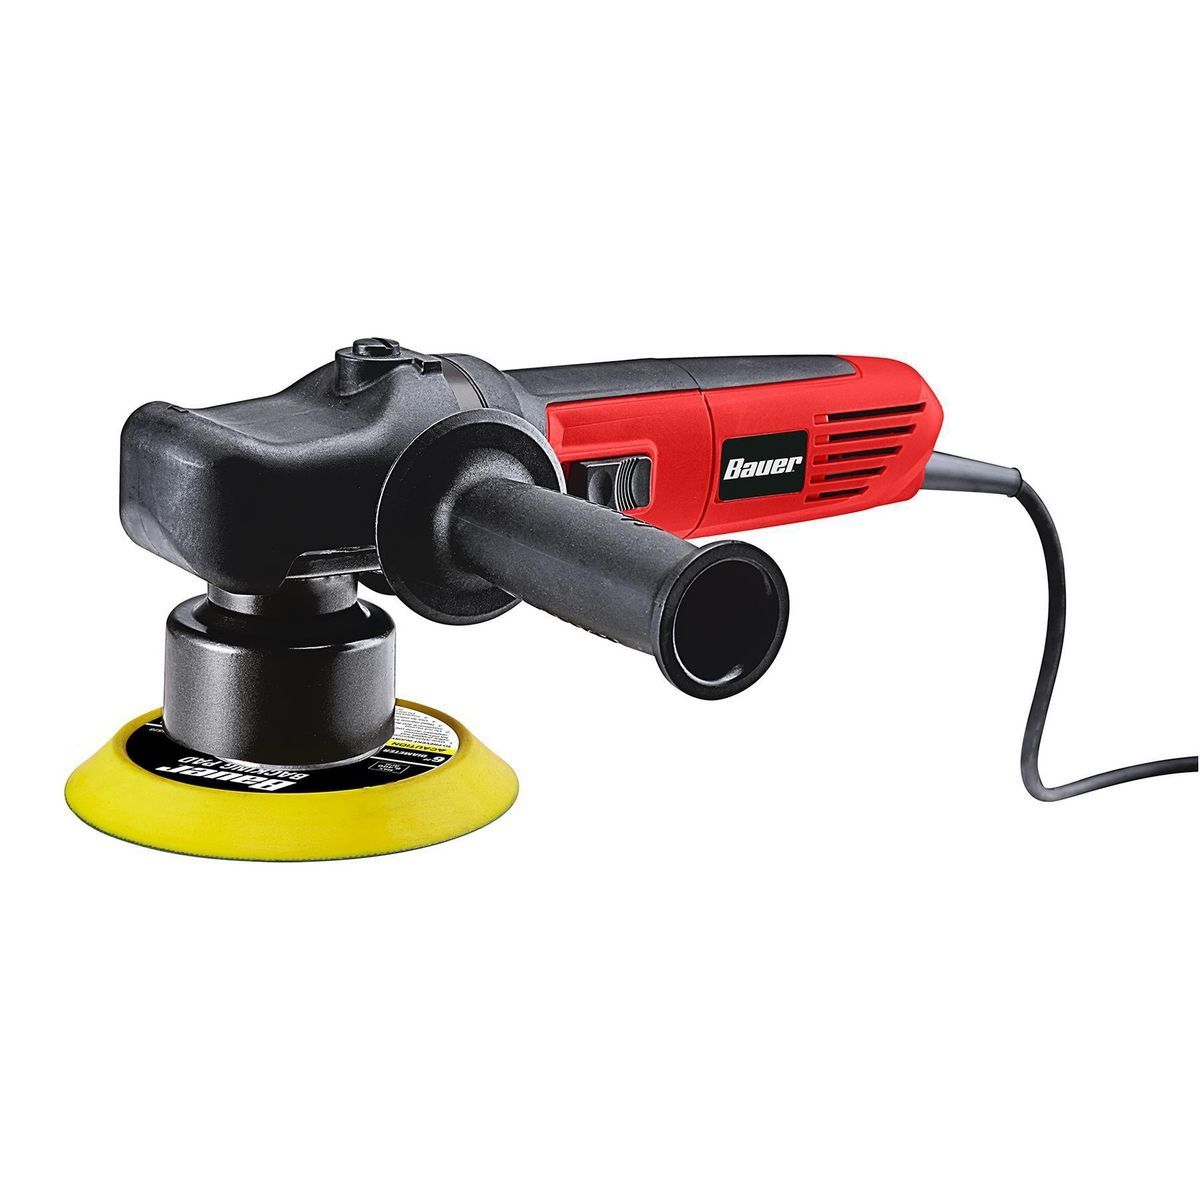
I'm considering buying this Bauer buffer
 www.harborfreight.com
My question is what process should I use to wetsand, buff than polish it? What grit paper/s should I use to wetsand, followed by the buffing and polishing? This will be my first time doing this, I don't mind taking my time and setting myself up right to get decent results for what quality paint I'm using.
So tomorrow I'm getting ready to paint my truck, but instead of the classic hot rod primer, I feel like I should go the distance and make a gloss black paint job look decent. I'm under no delusions that this Rust-Oleum job will be a show winner, I just want to put a little effort in to make it look decent for a daily driver.
I'm considering buying this Bauer buffer
5.7 Amp 6 in. Short-Throw Random Orbit DA Polisher/Sander
Amazing deals on this 8Mm Random Orbit 6In Da Polisher/Sander at Harbor Freight. Quality tools & low prices.
My question is what process should I use to wetsand, buff than polish it? What grit paper/s should I use to wetsand, followed by the buffing and polishing? This will be my first time doing this, I don't mind taking my time and setting myself up right to get decent results for what quality paint I'm using.