- Joined
- Sep 1, 2018
- Posts
- 1,674
- Reaction score
- 4,203
- Location
- Washington State
- First Name
- Craig
- Truck Year
- 1973 (have two), 1985
- Truck Model
- K10, K20, C20
- Engine Size
- 350, 454, 6.2 Detroit
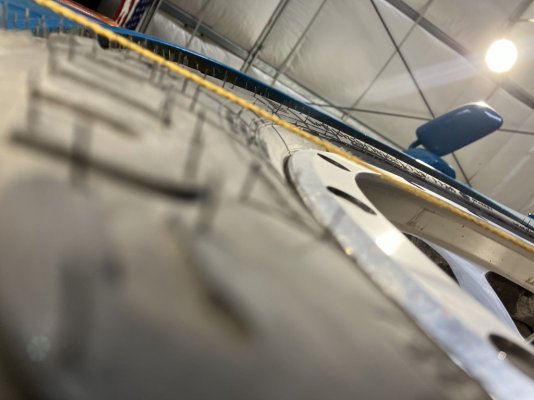
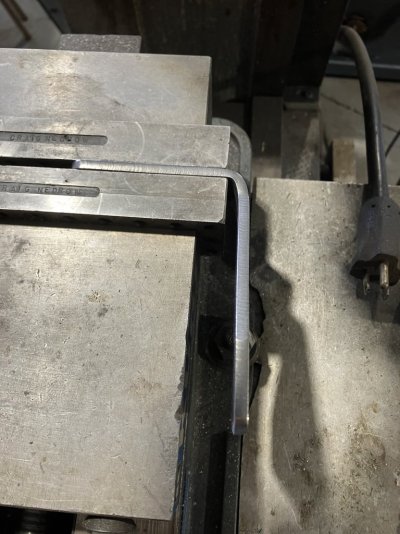
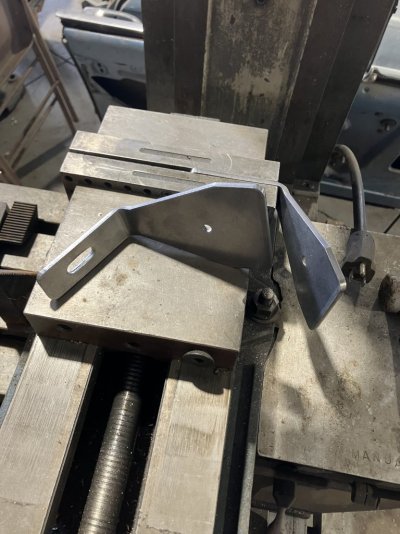
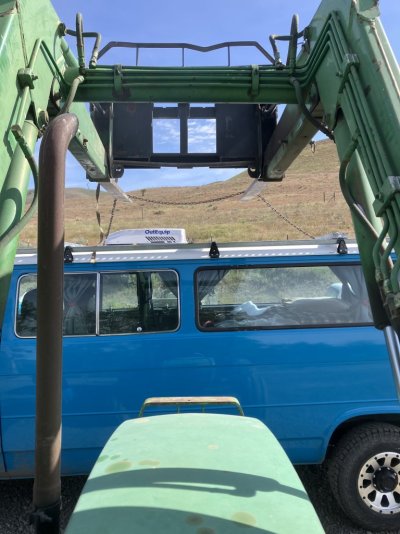
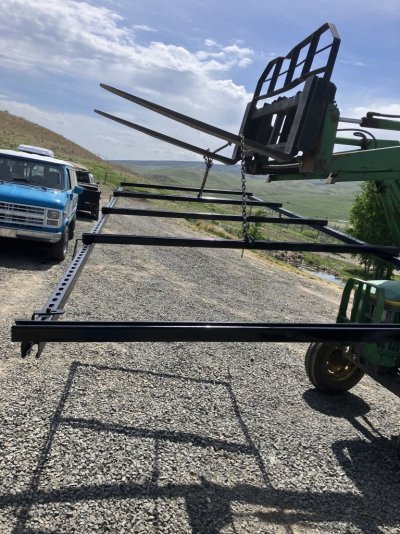
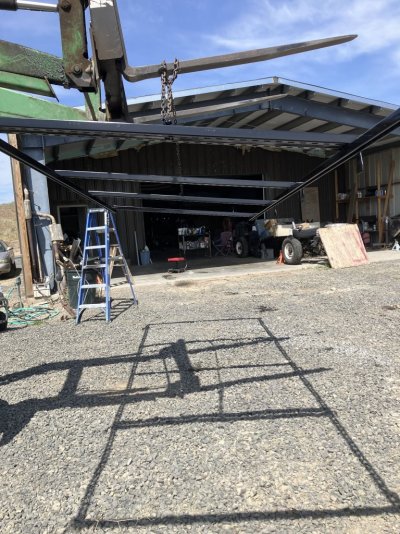
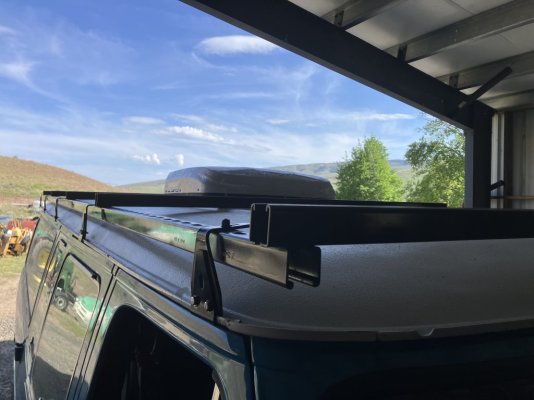
Few more pics, about 1/8 tow in, hard to get a good pic. So c/l of rear wheel. To c/l of front wheel, turn adjuster until you think you have about the right amount of tow in, then clamp the adjuster nuts down and you’re good to go very easy. I think Perry’s down this a few times.