Dleslie212
Full Access Member
- Joined
- Sep 2, 2019
- Posts
- 333
- Reaction score
- 258
- Location
- Phoenix
- First Name
- Dustin
- Truck Year
- 1977
- Truck Model
- K10
- Engine Size
- 5.7L 350


Disclaimer: Links on this page pointing to Amazon, eBay and other sites may include affiliate code. If you click them and make a purchase, we may earn a small commission.
Good info. I bought a pair of those, but 99 percent of my connections have been soldered and shrink tubedI'm a little late to the game, but here's a good video (down the webpage a little) on how to crimp those Packard/Delphi terminals. Watch and listen to the do's and don'ts.
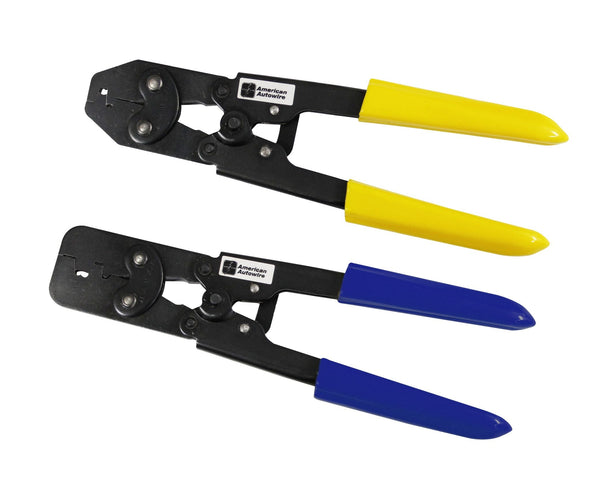
There a lots of less expensive crimping tools that will work OK, but I have found the ones from American Autowire to be the best by far. I actually broke down and bought a pair last year when they were on sale at Speedway and I had a discount code. You can sometimes find used ones on eBay. Back in the day they were made by Delphi (or made for them) and had longer handles.
Here are some tools I have used over the years that got me through a few harnesses, but with a little more pain! The two on the bottom right are from American Autowire. The ones on the top left do both crimps at one time using the loose die to the right. But it doesn't work on all dual crimp terminals, and can be tricky.
Bottom line is you've got to crimp both pairs of "wings" so they "roll" over and down. They need be to tight as possible like in the 2nd and 3rd photos below. Then there's no need to use solder, IMO.
You must be registered for see images attach
You must be registered for see images attach
You must be registered for see images attach
I'm a little late to the game, but here's a good video (down the webpage a little) on how to crimp those Packard/Delphi terminals. Watch and listen to the do's and don'ts.
There a lots of less expensive crimping tools that will work OK, but I have found the ones from American Autowire to be the best by far. I actually broke down and bought a pair last year when they were on sale at Speedway and I had a discount code. You can sometimes find used ones on eBay. Back in the day they were made by Delphi (or made for them) and had longer handles.
Here are some tools I have used over the years that got me through a few harnesses, but with a little more pain! The two on the bottom right are from American Autowire. The ones on the top left do both crimps at one time using the loose die to the right. But it doesn't work on all dual crimp terminals, and can be tricky.
Bottom line is you've got to crimp both pairs of "wings" so they "roll" over and down. They need be to tight as possible like in the 2nd and 3rd photos below. Then there's no need to use solder, IMO.
You must be registered for see images attach
You must be registered for see images attach
You must be registered for see images attach
I just used the normal stuff, it's worked pretty good so farAs for shrink tube, have you used the type that shrinks 3:1, or maybe 4:1? It's really nice. Also the type with glue inside.
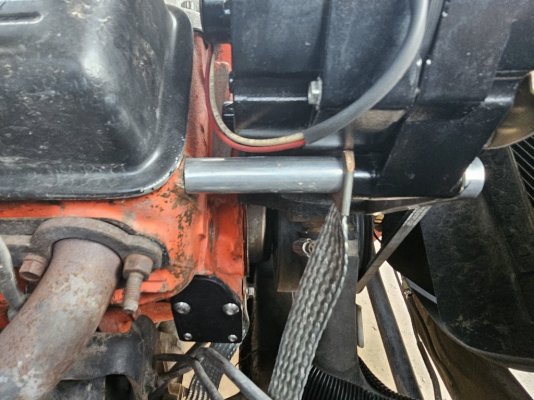
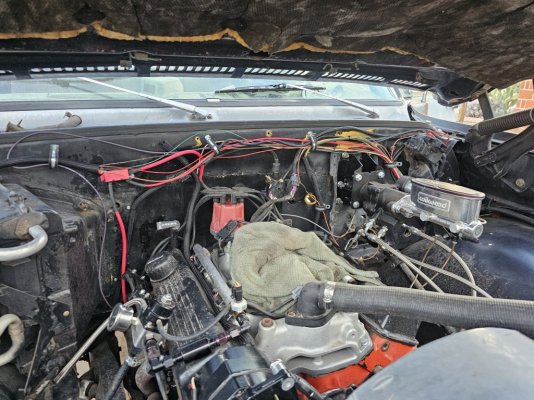
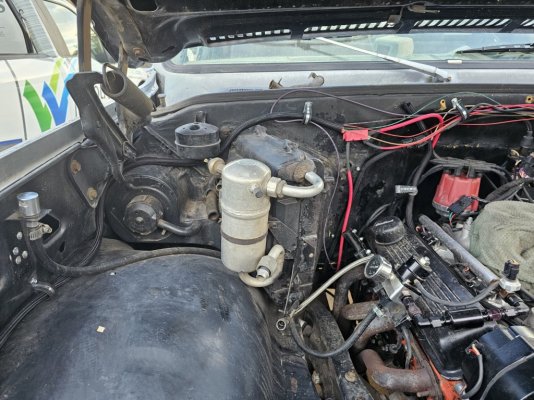
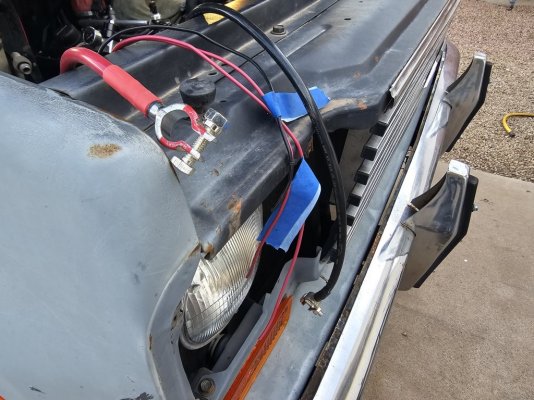
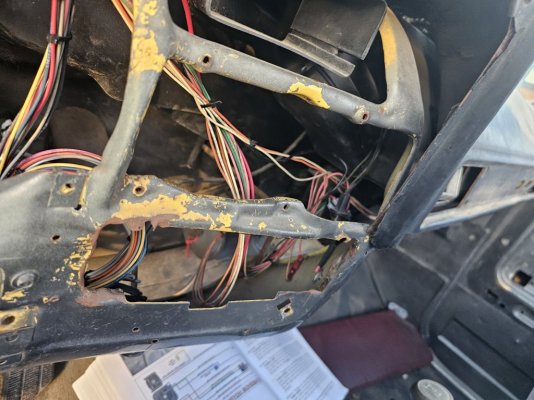
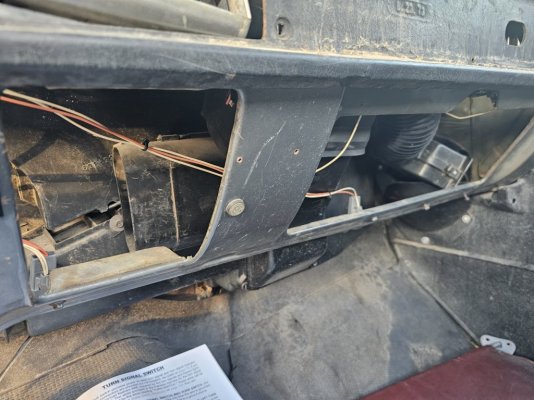
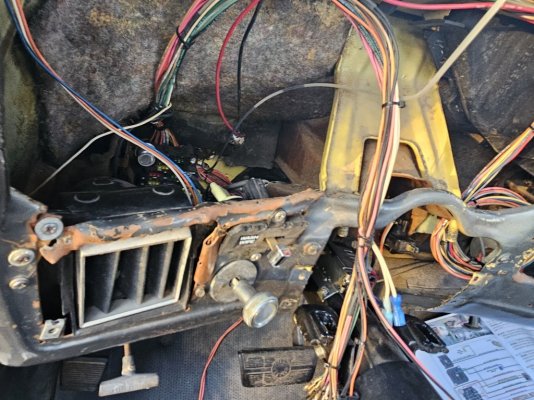
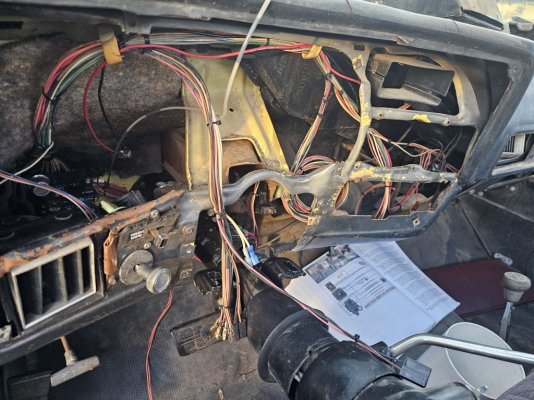
I saw your post on the PF4 forum yesterday. Sounds like a bad relay. I also rewired my truck, have the PF4 and DD Gauges. You will want to get the DD module that allows you to use the CANbus connector off the EFI to talk to the DD. This will give you all the data from the ECU displayed on the DD. You will be amazed at how much is there. Without it, you can still see the data on the app but's its cool to have it displayed in the gauge panel.Back with another update. Almost exactly a year to the day after I started - (I know, I dragged ass. Not knowing what I'm doing, plus 110 degree summers with no shade, plus stopping midway through to completely rebuild my steering column all contributed) - I finally got the battery dropped back in last weekend.
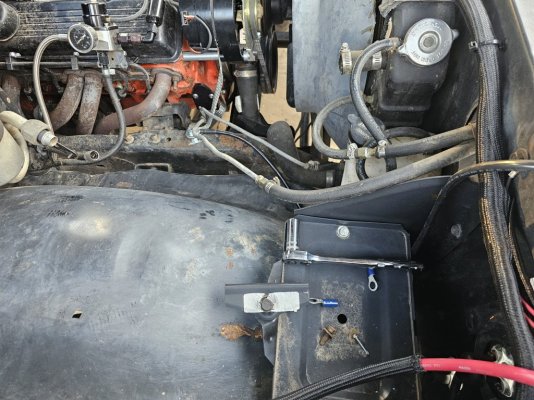
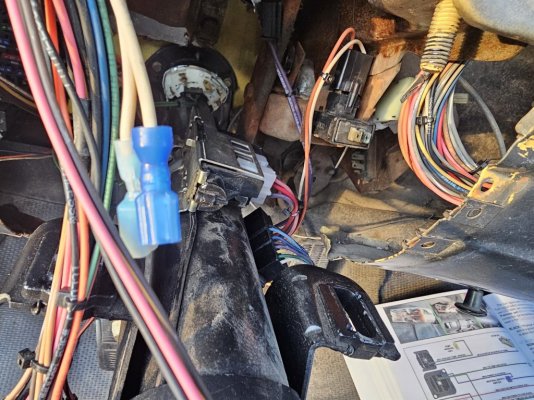
So far everything is working great. I actually have blinkers! High beams and low beams! My ********* HAZARD button works. I haven't actually started it yet due to a gremlin somewhere in my fuel pump or selector valve wiring that I'm trying to figure out, but my Pro Flo 4 system is back online and connected to my phone. I did crank the starter a few times, and it seems like that's working properly too.
I need to figure out the gremlin with the fuel pump wiring and then I can start her up. Once that's done, it's on to the Dakota Digital gauges which all should be fairly straightforward now that the wiring is all brand new.
On a side note - should I be worried about re-priming the oil pump after it having not run for a year? Or just crank her up and see what happens?
I updated the post on the PF4 forum BTW. Was a dum dum moment on my end, I had a popped fuseI saw your post on the PF4 forum yesterday. Sounds like a bad relay. I also rewired my truck, have the PF4 and DD Gauges. You will want to get the DD module that allows you to use the CANbus connector off the EFI to talk to the DD. This will give you all the data from the ECU displayed on the DD. You will be amazed at how much is there. Without it, you can still see the data on the app but's its cool to have it displayed in the gauge panel.