Tool battery mod with pics

Disclaimer: Links on this page pointing to Amazon, eBay and other sites may include affiliate code. If you click them and make a purchase, we may earn a small commission.

Ricko1966

Full Access Member
Joined
Apr 11, 2017
Posts
4,067
Reaction score
5,918
Location
kansas
First Name
Rick
Truck Year
1975
Truck Model
c20
Engine Size
350
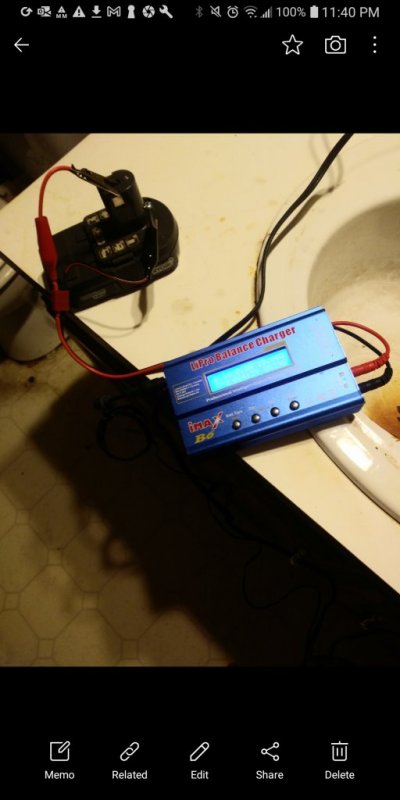
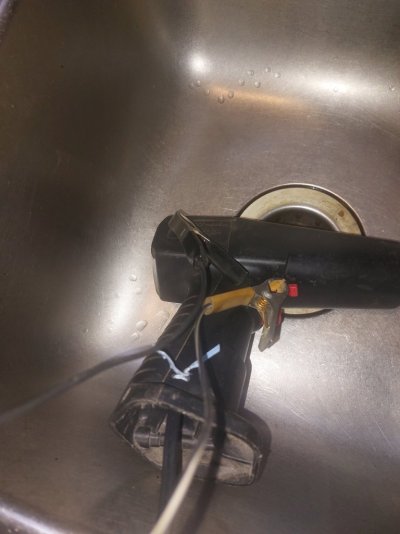
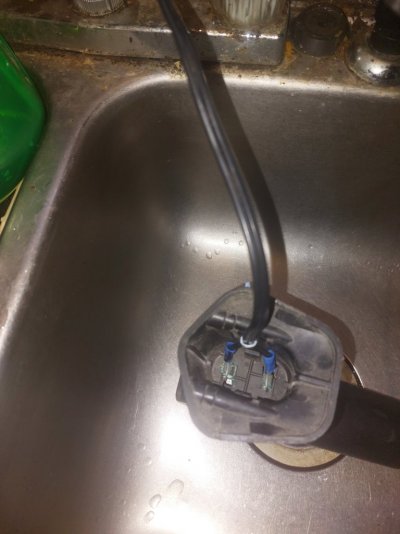
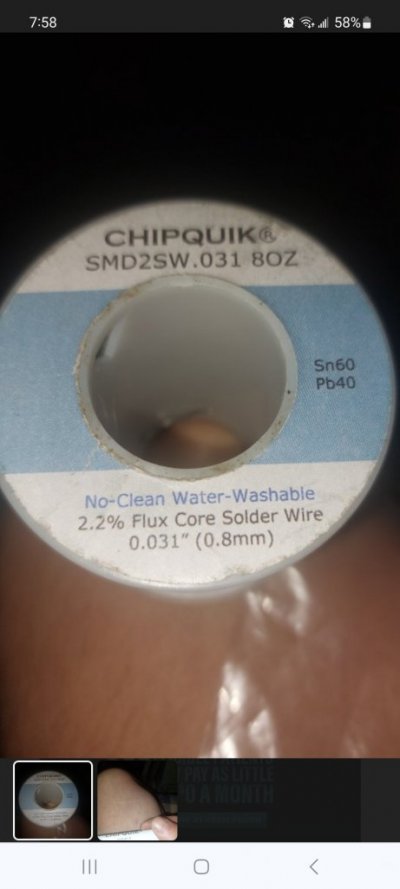
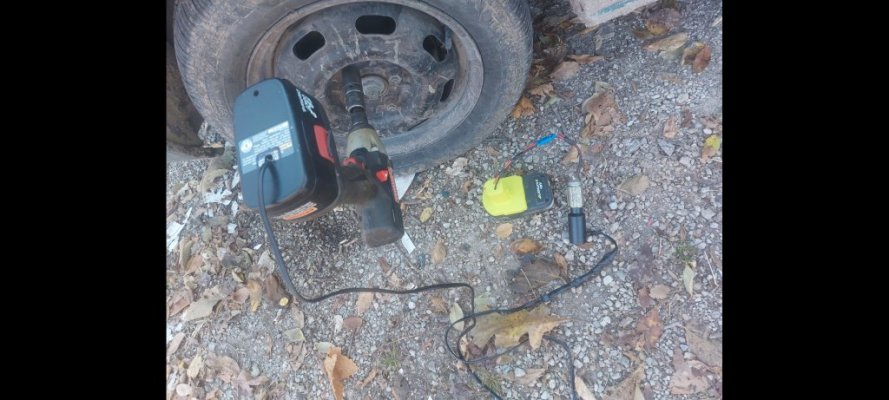
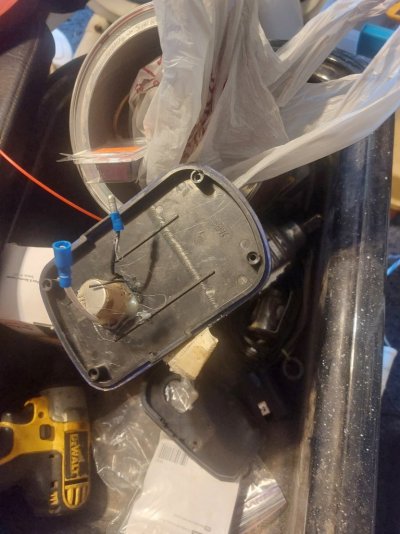
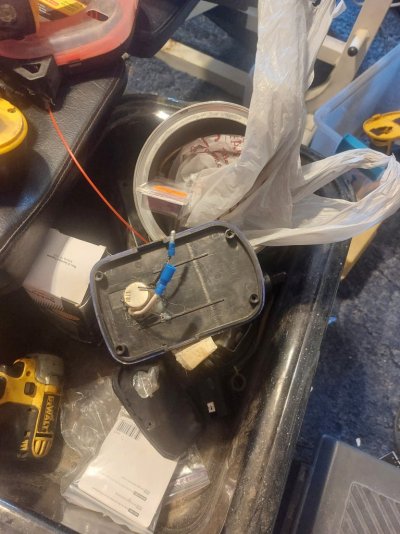
Okay I've been modding cordless tools and batteries for a while now. So just sharing a little of what I've learned. A simple way to run 9.6 and 12v tools is gut the tool battery and graft in a chord for a cigarette lighter plug,then you can run the tool off of a jumper box,the cigarette lighter or charger clips with a lighter socket for under the hood,in front off the car,on the boat whatever. Same mod for 18v but pick up the green battery cap pictured for running power wheelers on Ryobi batteries it's like 10 bucks on ebay. Most of the batteries I've done, the easy way is to clip the end battery with tool connector out of the battery pack. Solder on leads at the connector then hot glue it with the one battery into the stalk. I've use different types of connectors,and plugs,I've used different kinds of tool batteries. Cigarette lighter plugs and Ryobi batteries seem the best,I don't want to list all the different reasons. Number 1 reason for using Ryobi batteries is they are designed to fit directly into their nicad tools. They didn't design a new battery and a tool,just a battery that self contained,monitored voltage,amperage etc. Here's some pics a free Craftsman impact and battery ,I modded for 18v Corded use. I am eventually going to hard mount the green plastic socket and lighter socket into the lid of a tool box,I don't like the way wires bend at the top and am afraid they will eventually break in the jacket.Plus the tool box will give me a place to store batteries and a charger. Also I've learned how to bring totally dead Ryobi batteries back from the dead,I bought 10 new DOA batteries on ebay for $36.00. The learning process with this has taught me a lot, run your wires out the bottom of the tool battery,not the back,Ryobi batteries work best,use crimp on bullet disconnect inside the tool. The inspiration for this was buying,Milwaukee, DeWalt,Ryobi,Rigid,Kobalt batteries wasn't cost effective and I bought all these tools over time not thinking about not being compatible batteries.
 

Attachments

  • Screenshot_2023-11-10_121517.jpg
    Screenshot_2023-11-10_121517.jpg
    106.6 KB · Views: 43
  • 20231110_120609.jpg
    20231110_120609.jpg
    138.6 KB · Views: 40
  • 20231110_120604.jpg
    20231110_120604.jpg
    156.8 KB · Views: 41
  • 20231110_112225.jpg
    20231110_112225.jpg
    87.3 KB · Views: 40
Last edited:

Ricko1966

Full Access Member
Joined
Apr 11, 2017
Posts
4,067
Reaction score
5,918
Location
kansas
First Name
Rick
Truck Year
1975
Truck Model
c20
Engine Size
350
Heres how you bring back new, dead Ryobi lithium ions. Ryobi put a battery management board on thier lithium ions as part of its function, you can't just hook power to the battery positive and negative post, continuity gets broken from the negative post to the last negative cell terminal. I had been taking them apart and using alligator clips directly at the battery pack itself, but have figured out a better way. If you drill a hole, you'll see it in the battery pic, you can screw in a sheet metal screw, the 1/2 wide nickel will make contact with the sheetmetal screw. So now you have a positive terminal at the tool end of the battery and bypass the bms straight to the last cell negative terminal. You connect a variable model airplane charger the sheetmetal screw is your negative connection.Charge the whole pack as a 2s. It will charge quick, now charge it as a 3 s than a 4s than a 5s the stick it on the Ryobi Charger it now will function properly. What happens is they go too dead and the ryobi charger and bms. Makes them an open circuit so they wont charge, you bypass the bms and creep the voltage backup and the charger will see them again. You cant just jumper to the tool battery leads because the negative will read open. The batteries new, batteries go dead from too much shelf time.
 

Attachments

  • Screenshot_2023-11-16_234028.jpg
    Screenshot_2023-11-16_234028.jpg
    71.4 KB · Views: 26
  • Screenshot_2023-11-16_234015.jpg
    Screenshot_2023-11-16_234015.jpg
    59.6 KB · Views: 29
Last edited:

Ricko1966

Full Access Member
Joined
Apr 11, 2017
Posts
4,067
Reaction score
5,918
Location
kansas
First Name
Rick
Truck Year
1975
Truck Model
c20
Engine Size
350
@bucket finally put a cord on the snap on CT 30. Dirt simple 10 minute mod, tops. I used 2 x 1/4 eyelet connectors 1 x bread twist tie and drilled 2 small holes. This was a mock up. Final will use a zip tie on the opposite side of the handle instead. ( the bread tie rubs my wrist. May solder the connections later. This was kitchen style due to my covid infection.. I did go outside and clip it to the d d battery for a minute played around underhood with it. Pi$$ed I didn't do this forever ago. There's a quick disconnect in the cord so I can use a longer cord or a lighter plug.
 

Attachments

  • 20231118_144835.jpg
    20231118_144835.jpg
    99.7 KB · Views: 27
  • 20231118_144808.jpg
    20231118_144808.jpg
    108.5 KB · Views: 27
  • 20231118_144750.jpg
    20231118_144750.jpg
    99.4 KB · Views: 26

Doppleganger

Full Access Member
Joined
May 24, 2019
Posts
11,782
Reaction score
54,478
Location
OH-MI: Just like it sounds
First Name
Chris
Truck Year
1985
Truck Model
K20
Engine Size
5.7
There used to be a place about 2hrs south of here that refurbed bad batteries. I have a collection of 18v DeWalts that failed.....open it up and there is about 15+ C sized batteries all tack welded in series. Bad ones have 2-3 blown/leaking batteries. I figured I could take a couple good ones out of one and replace the blown ones in another to recoup a useful battery......but not sure how they tack them (what do you use?) together.
 

Ricko1966

Full Access Member
Joined
Apr 11, 2017
Posts
4,067
Reaction score
5,918
Location
kansas
First Name
Rick
Truck Year
1975
Truck Model
c20
Engine Size
350
There used to be a place about 2hrs south of here that refurbed bad batteries. I have a collection of 18v DeWalts that failed.....open it up and there is about 15+ C sized batteries all tack welded in series. Bad ones have 2-3 blown/leaking batteries. I figured I could take a couple good ones out of one and replace the blown ones in another to recoup a useful battery......but not sure how they tack them (what do you use?) together.
You can solder them or make yourself a spotwelder for them,but a couple of them,home use I'd solder them.
 

bucket

Super Moderator
Staff member
Super Moderator
Joined
Aug 3, 2010
Posts
29,108
Reaction score
23,981
Location
Usually not in Ohio
First Name
Andy
Truck Year
'77, '78, '79, '84, '88
Truck Model
K5 thru K30
Engine Size
350-454
You can solder them or make yourself a spotwelder for them,but a couple of them,home use I'd solder them.

Solder would actually be better, wouldn't it? I'm guessing they are tack welded originally just because it's cheaper to manufacture. All the cells are in a fixture and a machine zaps them all at once, I'd assume.
 

Ricko1966

Full Access Member
Joined
Apr 11, 2017
Posts
4,067
Reaction score
5,918
Location
kansas
First Name
Rick
Truck Year
1975
Truck Model
c20
Engine Size
350
Solder would actually be better, wouldn't it? I'm guessing they are tack welded originally just because it's cheaper to manufacture. All the cells are in a fixture and a machine zaps them all at once, I'd assume.
I think there's more to it than that,I probably should have said something when I replied to doppelganger, you don't want to over heat your cells,shortens their life supposedly. So sand them Flux em heat em tin them solder them without wasting a bunch of time. I bought good solder and a Flux pen just for doing this but can't remember where I put it to get brands. I'll look,it's here somewhere.
 

Ricko1966

Full Access Member
Joined
Apr 11, 2017
Posts
4,067
Reaction score
5,918
Location
kansas
First Name
Rick
Truck Year
1975
Truck Model
c20
Engine Size
350
Found it,got from mouser electronics
 

Attachments

  • Screenshot_2023-11-18_195839.jpg
    Screenshot_2023-11-18_195839.jpg
    44.9 KB · Views: 16
  • Screenshot_2023-11-18_195829.jpg
    Screenshot_2023-11-18_195829.jpg
    39.7 KB · Views: 18

SirRobyn0

Full Access Member
Joined
Dec 6, 2019
Posts
6,742
Reaction score
11,319
Location
In the woods in Western Washington
First Name
Rob
Truck Year
1984
Truck Model
C20
Engine Size
305
I've rebuilt my own battery packs in the past, and have soldered them. It's really quite easy if your proficient at soldering, but you got to kind of watch it, if most of the batteries are shot a new pack might be cheaper, but if your just replacing a few clapped out ones then you can save yourself a bundle.

I still have a couple old craftsman 14.4 drills kicking around that are well worn. In those cases when the batteries were shot I replaced the tools, but I might consider modding them to run off a jump box.
 

Camar068

Supporting Member
Supporting Member
Joined
Feb 5, 2014
Posts
4,158
Reaction score
3,017
Location
Kentucky
First Name
David
Truck Year
1986
Truck Model
K10/LM7 5.3/4L60e/np208/3.73/32"
Engine Size
10 yrs Air Force
Solder would actually be better, wouldn't it? I'm guessing they are tack welded originally just because it's cheaper to manufacture. All the cells are in a fixture and a machine zaps them all at once, I'd assume.
I'd think one is just as good as the other.

BUT I've often wondered if they tack them because they could do it quickly and less heat to the battery internals as compared to soldering.
 

Latest posts

Forum statistics

Threads
42,137
Posts
909,894
Members
33,633
Latest member
satansdad
Top