The door must be square to the body FIRST. Then you square the fender.
ALIGNING BODY PANELS
Remove the fender from the car. If you don’t remove the fender you will wish you had after several hours of frustration.
Also get yourself a helper, it will make things progress quickly and successfully; I went at it alone.
A door hinge wrench is also a welcome addition.
Preparing the door
Install the door hinges on the door and make sure that the lower hinge is in the closed position; this will give you a straight shot at it on installation.
Install the door latch; having the door latch installed will help with aligning the door, especially if you’ve taken on the job alone and then, install the door jamb sticker plate.
Prepare the door jambs and gap gauges
Before I mount the door I prep the rear door jambs and rocker panel with my panel gap gauge made out of pop-sickle sticks (you can use paint sticks), this will set the initial gap as well as help protect the jambs and rocker from an impact with the door edges.
Mounting and Aligning the Door
Once the door is mounted and the striker plate is adjusted so the rear of the door is aligned pretty well I move to fine tuning the door alignment.
Door Hinges 101
The body side of the hinges allow adjustments to be made: up, down and front to back.
The door side if the hinge allows adjustments to be made: up, down, inboard and outboard.
Each adjustment should be made to one hinge side at a time, tighten the bolts and then move to the next adjustment.
Problem and Solution
P: The gap between the top rear of the door and the quarter panel is too close; you need to widen the gap.
S: Make the adjustment at the top body side hinge; nudge it forward until you achieve the appropriate gap.
P: The bottom rear of the door is sticking out and is not flush with the body.
S: Make the adjustment at the top door side hinge; pull the top front of the door outward and you will see the lower rear of the door drift inward.
Top rear in or out = lower door side hinge
Bottom rear in or out = upper door side hinge
Setting gap and angle = body side hinges, up down, forward or back
Alignment of Specific Parts
We’re only going to focus on a few parts in this section because there are only a few panels that are considered bolt-on, while the rest are structural or welded-on parts. We’re going to look at the hood, deck lid, fender and door. We won’t concern ourselves with the bumper assemblies, grilles, headlamps or other miscellaneous parts.
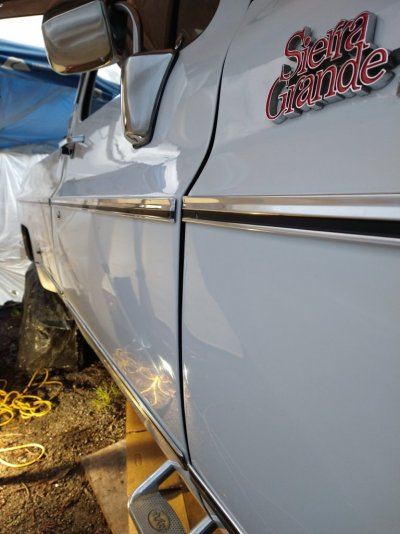
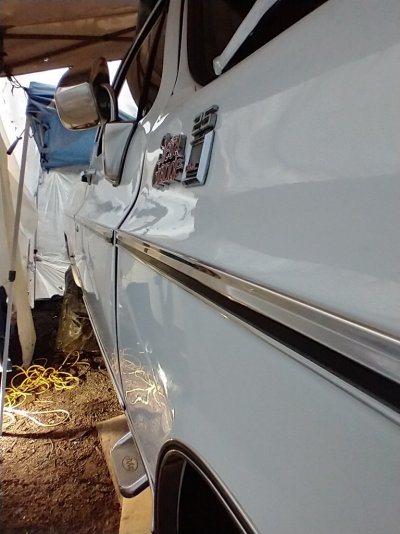
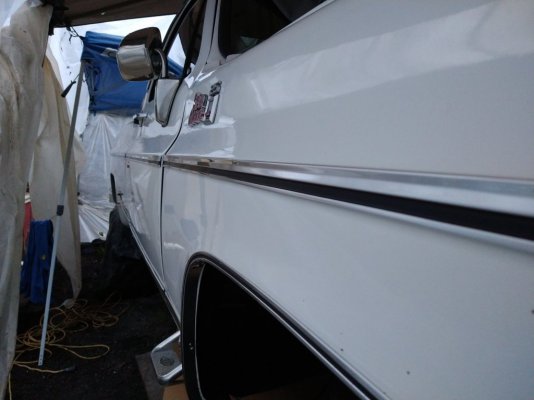
Door
The door can be difficult, so pay attention! Doors have always been a challenge and require more analytical thinking than other parts. Today’s automatic door glass drop-downs, airbags, electronic latches and locks don’t make them any easier, either. The principal still remains the same, though: the door or doors must be aligned to the closest welded-on parts first (quarters and rockers) before aligning to the bolted-on parts (fenders and other doors).
Think about it! If you’re replacing both same side doors on a four-door hard top, you’ll install and fit the rear door first because the rear door is bound by the quarter panel/dogleg and the rocker panel. Both of these parts are welded on and provide no adjustment, so you’ll fit the rear door to the quarter/rocker opening and then fit the front door to the rear door and adjust the fender to the front door if necessary. That’s the baseline principal, and usually experienced technicians, given all the weight in the doors, like to load their doors before final paint to assure themselves that everything fits properly – which means the latches are hitting the strikers in the middle and the glass is contacting the weather-stripping without slamming or spring-back and popping. The cheapest place to address issues is in front of the paint booth doors.
Can you run out of adjustments when fitting a door? Sure. What do you do then, bend something? You have to, because something bent it out of alignment to begin with. How you do it will determine how much damage you do or don’t do in the process.
If your door is sagging at the rear and dragging on the striker, verify that the hinges aren’t worn out before bending anything. Open the door and lift on the rear of it. If there’s noticeable movement vertically, you may need bushings, hinge pins or new hinges. If new hinges aren’t available, there may be rebuild kits available from the aftermarket.
If the hinges are good but the door won’t take an alignment with the available adjustments … something has to give. In this case, the door is dragging on the striker, so it needs to come up at the back. Loosen the top hinge on the body side slightly. You don’t want to loosen the hinge bolts more than just a half turn on the upper A-pillar. With a jack, a block and some towels, with the door half open, carefully lift the back of the door with a floor jack. Lift the back of the door with pressure on the door frame, not the door edge/flange. Use caution. With the pressure on, use a bar and a 3-lb. hammer and strike the top hinge firmly and squarely forward to slip the hinge.
Repeat the process of striking the upper hinge with the bar and hammer. Release the jack and check the latch-to-striker alignment. There should be no dragging either on the top or bottom of the latch opening. If it closes properly, you’re done after tightening your bolts.
If the door still sags and you’ve determined adjustment in both hinges is maxed out…it’s time to take your actions up a notch. There are several ways to do this, but I’ll discuss two of the least destructive.
The device that looks like a couple of sockets on the opposing ends of a piece of wire is used between the hinge halves and with the door closed on it to bend or “spring” a door into alignment laterally. Go easy! A little bit makes a big difference, a lot is too much and it’s harder to go back. Check the latch-to-striker position now. It’s good, great! Go to the bank and pick up your money.
Another way to do this involves other devices where the door latch closes over the tool and the jamb is used as a fulcrum to lever the door up or down as needed. Use caution and watch the paint where the fender and door intersect at the top.
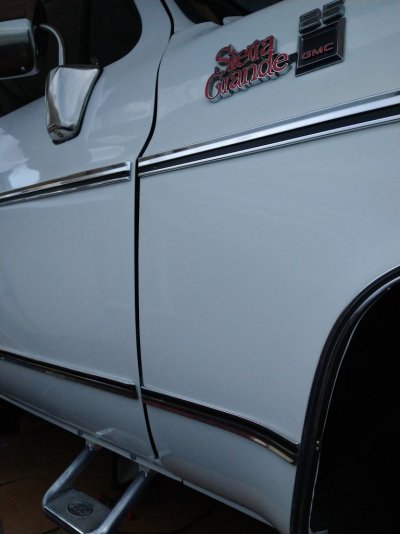
Fender
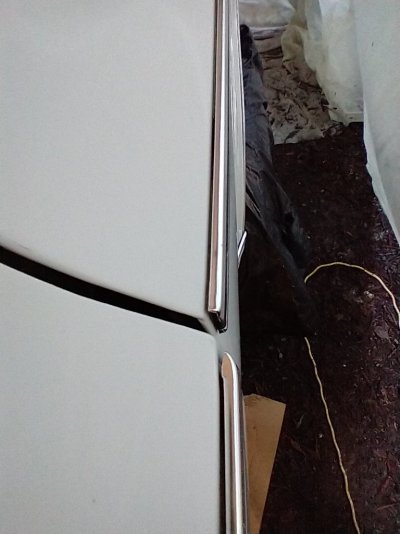
The fender is often a problem to align because you’ve got the door-to-fender gap, which can also be affected by the fender-to-hood gap.
It’s always our goal to use the factory supplied adjustments (mainly slots) and never go outside those provided adjustments by further slotting them. This is always an indicator of some other problem, either structural or in the parts themselves. An obvious sign that a car has been wrecked are oversized fender slots with mounting holes elongated by a tech, who was trying to get the fender to bolt onto the chassis.
When you have a wide fender-to-hood gap, you may have a bent fender mounting flange. You need to pull the fender toward the center line of the car and re-form that fender mounting flange.
Attach the strap at the wheel opening, properly padding the strap with towels to avoid damaging the fender. Hook the come-a-long to an attachment on the radiator core support that will withstand the pressure you’ll apply. Carefully apply pressure to the come-a-long until all the slack is out of the strap and cable and you’re sucking the fender toward the center of the car. Monitor the pressure carefully to avoid causing damage.
Once you have steady pressure on the flange, massage the flange area with a rubber hammer to stress relieve the area and redistribute the molecules to help hold the flange in the position you want and minimize spring-back. Release your come-a-long and strap, and re-check the hood-to-fender gap. Check it to the other side since they both need to match each other. It looks close…well; make it look perfect to your naked eye.
Loosen a few bolts now, adjust, re-tighten and re-check.
What about the door-to-fender gap?
The fender fits inside the door for lateral height.
Adjust the mounting locations by bending the fender outward with a dinging spoon using the door edge for leverage. Tape your spoon to protect the paint and carefully monitor your action to avoid damaging paint or metal.
Does it look good?
Double-check it again.
Does it feel level? Good.
Is the gap even, top to bottom?
A little tight at the bottom…okay, let’s loosen the fender at the bottom and push a plastic wedge between the door and the fender at the bottom and then re-tighten.
Remove the wedge and re-check the gap.
Now let’s say that the fender-to-hood gap is tight instead of wide and you’re out of adjustment.
Let’s spring that fender outward carefully using our slip jack and a padded block of wood to protect the fender jamb from damage.
Place the slip jack against a solid base on the core support and the block of wood in the jamb of the fender.
Apply pressure and then stress-relieve the jamb area to achieve a gap and hold it. Remove the jack and block and drop the hood in the hole.
Hood and Deck Lid
It’s simple friends…really. Make sure the hole is square and the rest is easy. It’s when that opening is off a little that the problems occur. With the deck lid opening, you’ve got little room for error because, of course, it’s surrounded by welded panels. There’s no adjustment to this opening compared to the hood opening, so make sure it’s dimensionally correct before welding anything.
The hood on most cars is surrounded by bolted-on parts that have some adjustment.
Take a diagonal measurement between the rear fender mounting bolt on one side, to the front fender mounting bolt on the opposite side.
If these comparative measurements aren’t within a few millimeters, installing the hood will be a frustrating exercise with a less than satisfactory result.
If the opening is true, you may still have conditions that will require corrective action.
The hood can be high or low where it fits the cowl at the rear.
This will require using a small wood block to stop the hood hinge from either opening or closing.
When the hood hinge is levered with a block as the fulcrum and then the hood is carefully lowered, the back of the hood will be raised as it bends.
The opposite is true when wedging a block to prevent the hood from opening fully, then lifting to bend. This will lower the rear end of the hood at the cowl.
All of these adjustments are just a few of the unknown total, but they’re the most successful and least damaging. I hope you’ll use them to achieve that most important goal of customer satisfaction.